Acoustic Room treatment is not as complicated as many people think, and the following will get you 99 percent of the way there. The main thing you need to understand is that Indian rooms are much smaller than American / European rooms, and so the approach used in USA does not translate well to our compact rooms.
Step 1 – Identify the problems you are trying to solve with acoustics
The main acoustic problem in smaller rooms is poor low frequency response (50Hz – 250Hz) and lack of clarity in bass instruments. A secondary problem is too much harshness caused by mid/high frequencies modulating over standing waves and lastly, overall liveness or excessive reverberation. These problems are best solved with 6″ or 8″ thick panels mounted straddling the room corners, as shown in the drawing below.
All rooms need:
- Bass traps straddling as many corners as you can manage, including the wall-ceiling corners. More bass traps on the rear wall behind the listening position helps further. You simply cannot have too much bass trapping.
- Mid and high frequency absorption at the first reflection points on the side walls and ceiling. For rooms below 300SqFt, we strongly encourage using atleast 4″ broadband absorbers even at first reflection points because most of your room’s problems are below 250Hz
- Some additional amount of mid-high absorption and/or diffusion on any large areas of bare parallel surfaces, such as opposing walls or the ceiling if the floor is reflective. Diffusion on the rear wall behind you is useful only in rooms larger than 300SqFt
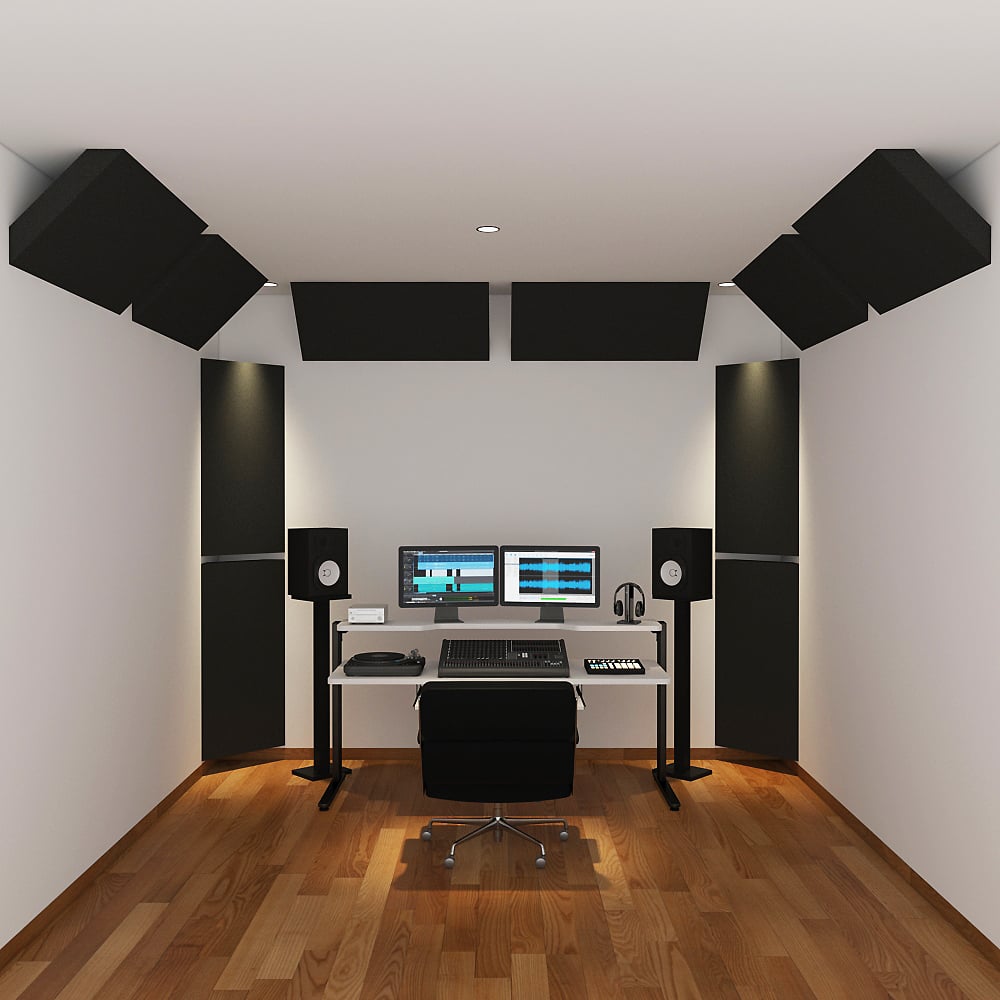
For a typical small room you would put ProPanel-B corner panels on each of the four wall-to-wall corners, about halfway up between the floor and ceiling. These are identified with a “1” label on the drawing at left. Then you’ll install one or two more ProPanel-B corner panels at the top of each wall where it meets the ceiling, labeled “2” in the drawing. Exact placement is not critical – just aim to spread the corner panels around the room as evenly as you can, always mounted at an angle straddling a corner.
Some rooms have a door or window blocking one or more corner, and in that case you can put floor standing panels in those corners. Acoustically all corners are valid, so putting ProPanel-B corner panels across a ceiling corner is just as effective as any other corner. They can also be leaned across the corner at the bottom of a wall where it meets the floor if you have space. Of course, you shouldn’t put them where they can be kicked or stepped on! Again, exact placement is not critical, so just spread them evenly around the room as best you can.
With most rooms, after enough ProPanel-B corner panels are mounted in the corners any lingering ambience will also disappear. But if your room has large areas of bare wall, and you still have too much liveness or notice obvious echoes when you clap your hands, you can install additional ProPanels on the walls. Those are labeled “3” on the walls and ceiling. For this application you should use 4″, 6″, or 8″ panels depending on your room geometry and the size of your studio monitors. Larger speakers generate more bass energy and acoustically excite your room, so a good rule of thumb is to use thicker panels for powerful studio monitors.
Recommended Panel Thickness:
- 3.5″ – 4″ Studio Monitors – Use 4″ ProPanels
- 5″ Studio Monitors – Use 6″ ProPanels
- 6″ – 8″ Studio Monitors – Use 8″ ProPanels
Recommended RockWool Density:
- 2″ Panels – 100 kg/m3
- 4″ Panels – 80 kg/m3
- 6″ Panels – 60 kg/m3
- 8″ Panels – 50 kg/m3
- 10″ – 12″ Panels – 40 kg/m3