


Project Showcase
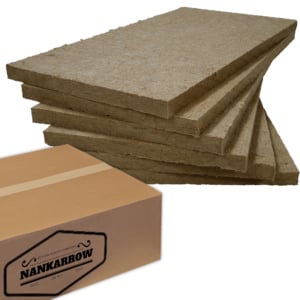
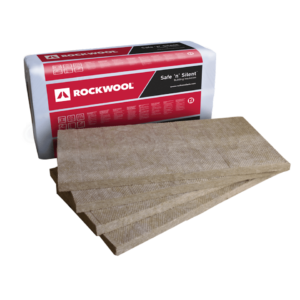
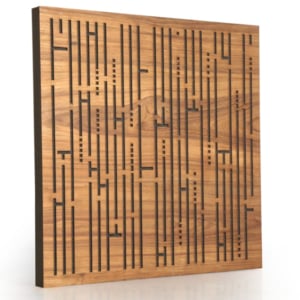
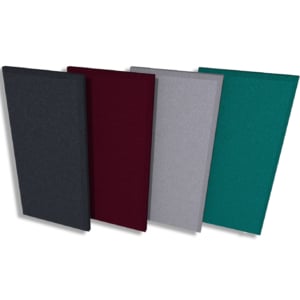
Aural Exchange distributes high quality soundproofing materials, acoustical panels and sound dampening products used in compliance of global building regulations. Run by experienced acoustic consultants, we offer patented & knowledge-driven innovations in the field of acoustics and sound absorption. Our team has worked on solving diverse noise, vibration, and acoustical problems for auditoriums, studios, a wide range of industrial units, nightclubs, cinemas, offices, and more. You can see how our acoustic foam panels, wooden acoustic panels, acoustic fabric, acoustic diffusers, bass traps, and rock wool are used by our clients.
- All
- Auditoriums
- Bars & Nightclubs
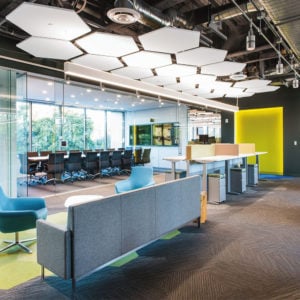
- Commercial Office Spaces
- Educational Facilities
- Halls/Banquets
- HVAC
- Outdoor
- Recording & Broadcast Studios
- Rehearsal Studios
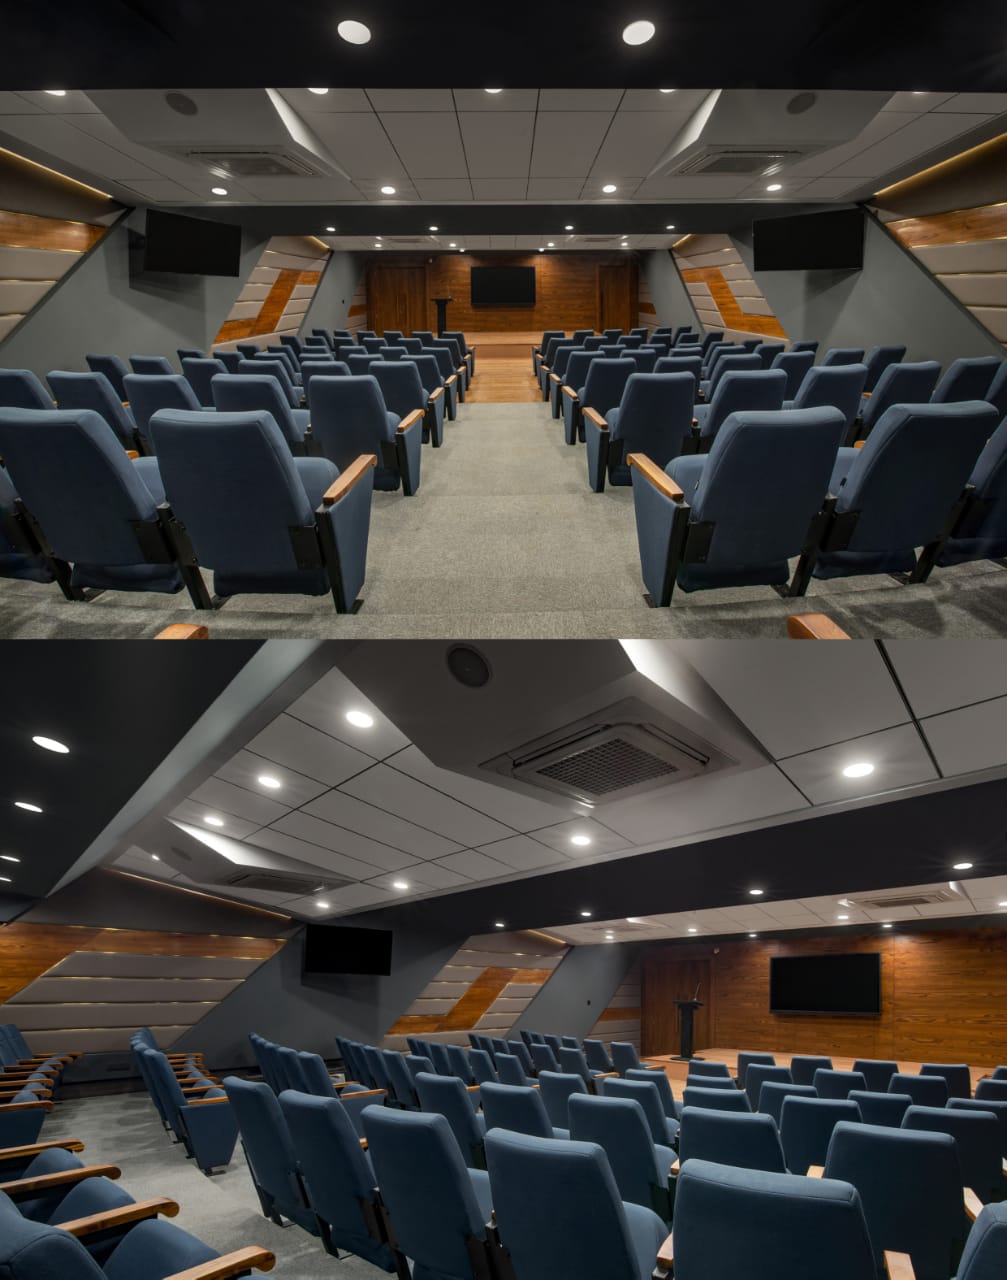
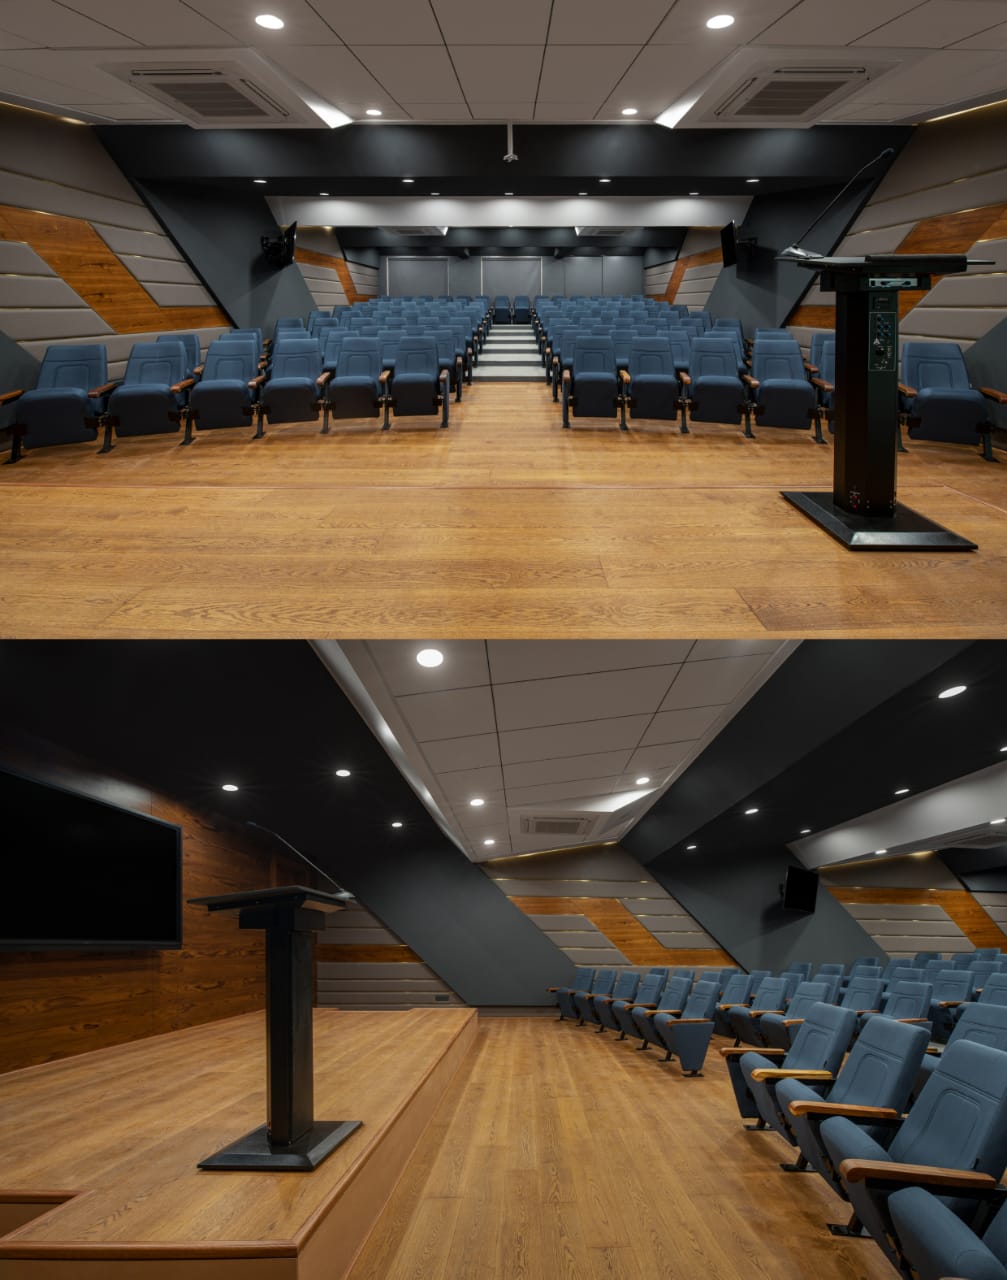
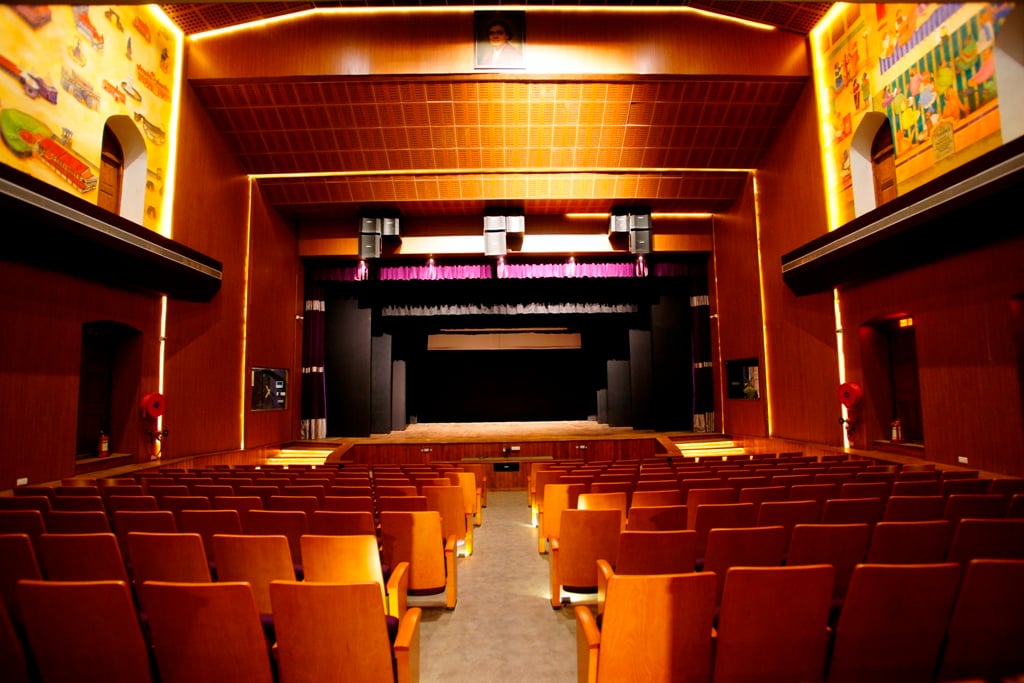
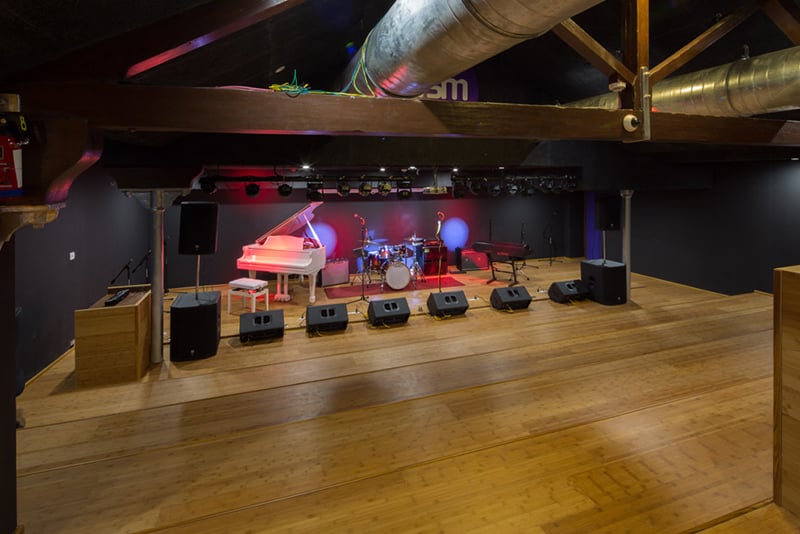
Designed by Kinshuk Shikarkhane of S.D.I. CONSULTANTS PVT LTD, a state-of-the-art functional, yet elegant auditorium with two-way live streaming capabilities. The dark grey GeoWeave Breathe stretched fabric brings out the beauty of this design
| Categories : |
Auditoriums
|
|---|---|
| Skills : |
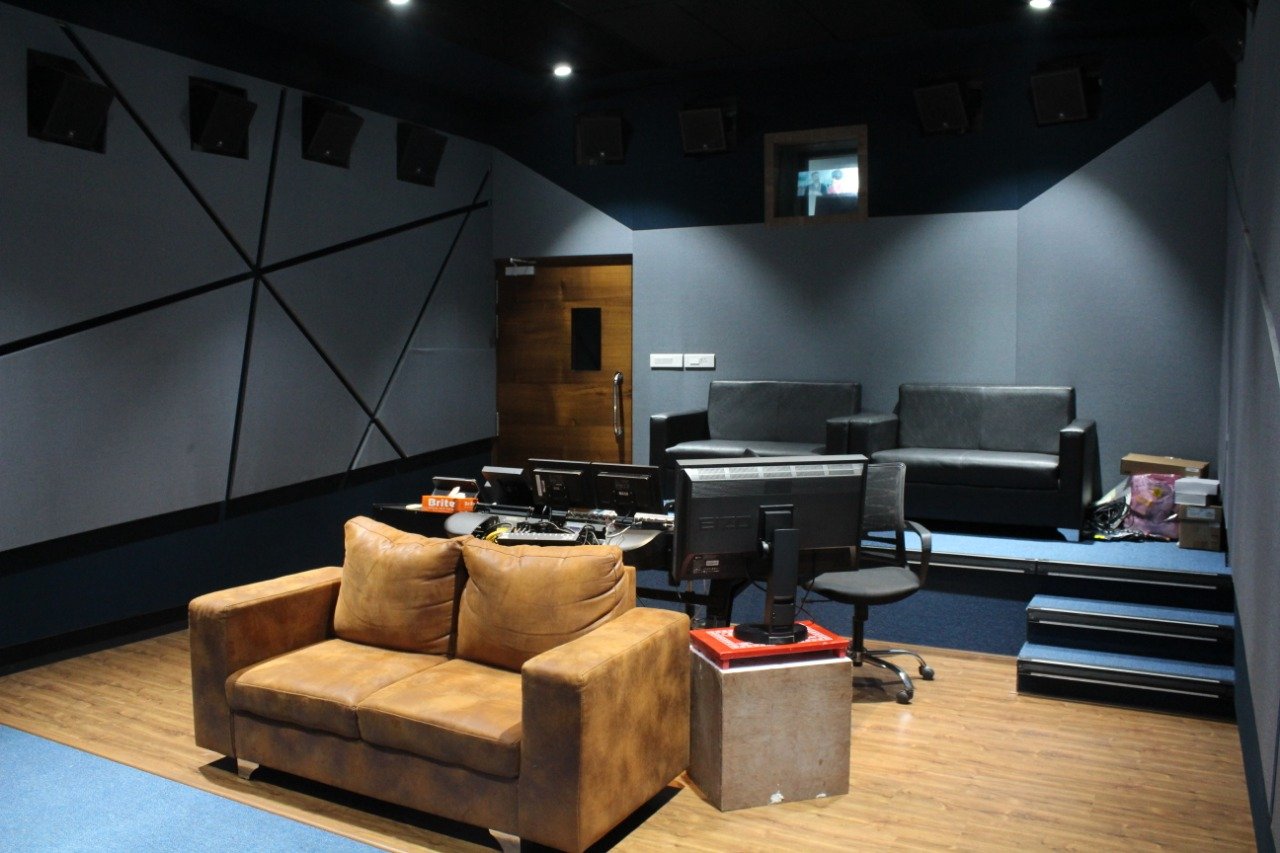
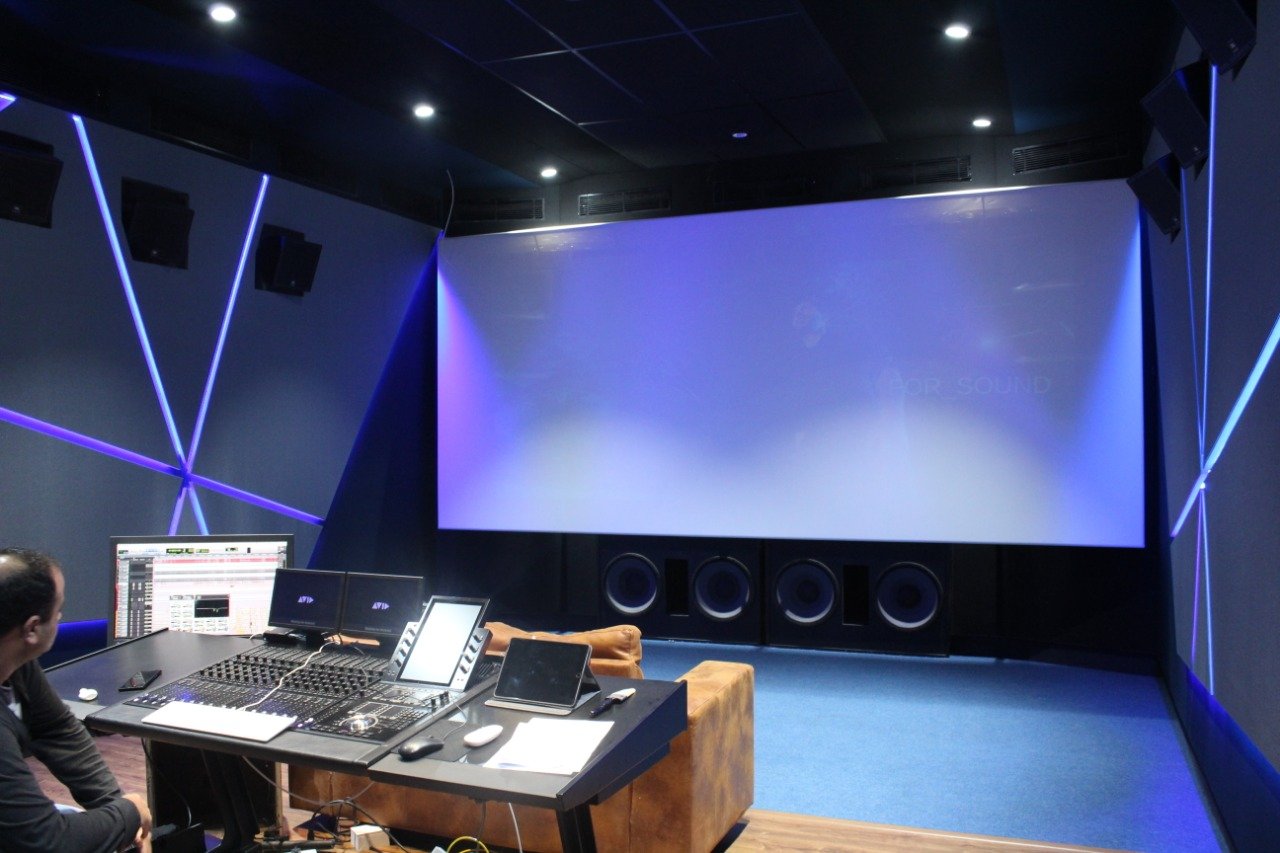
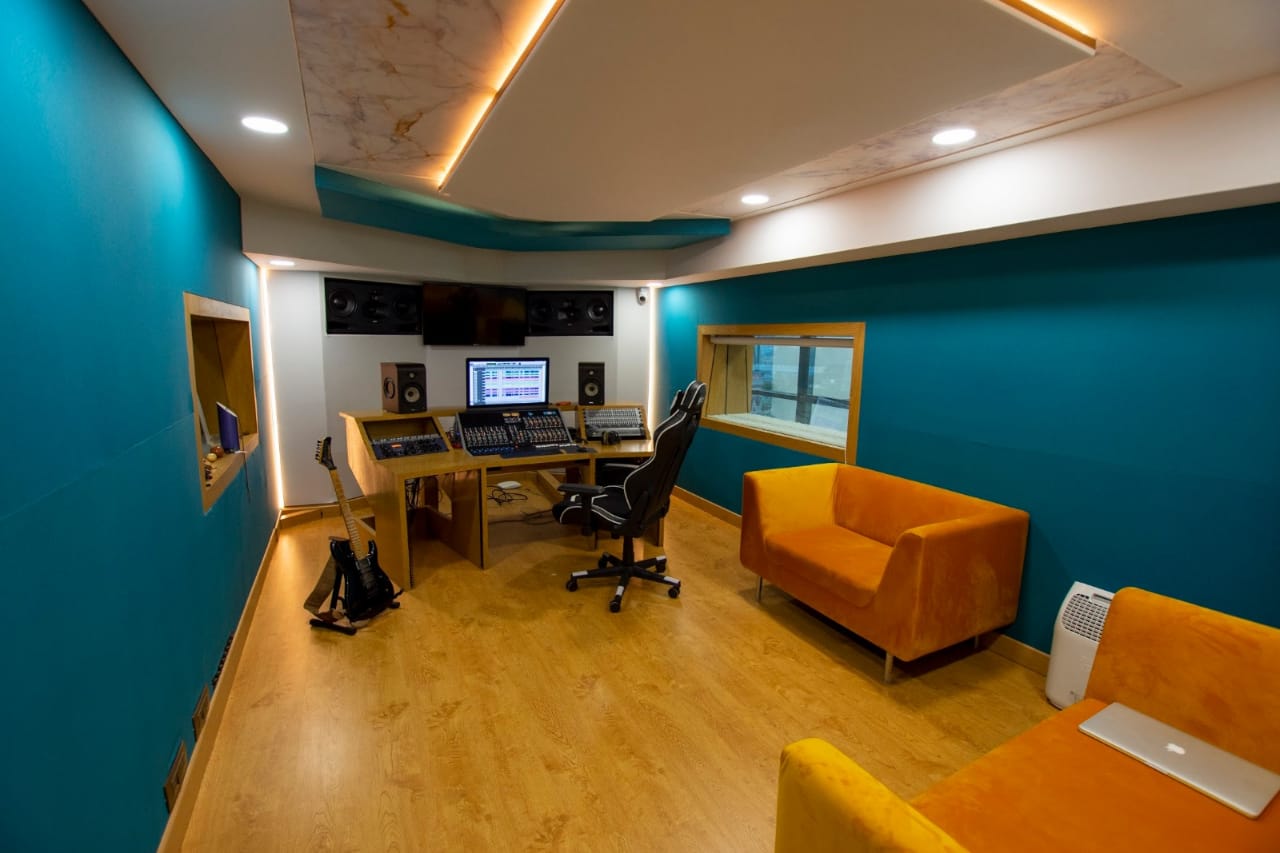
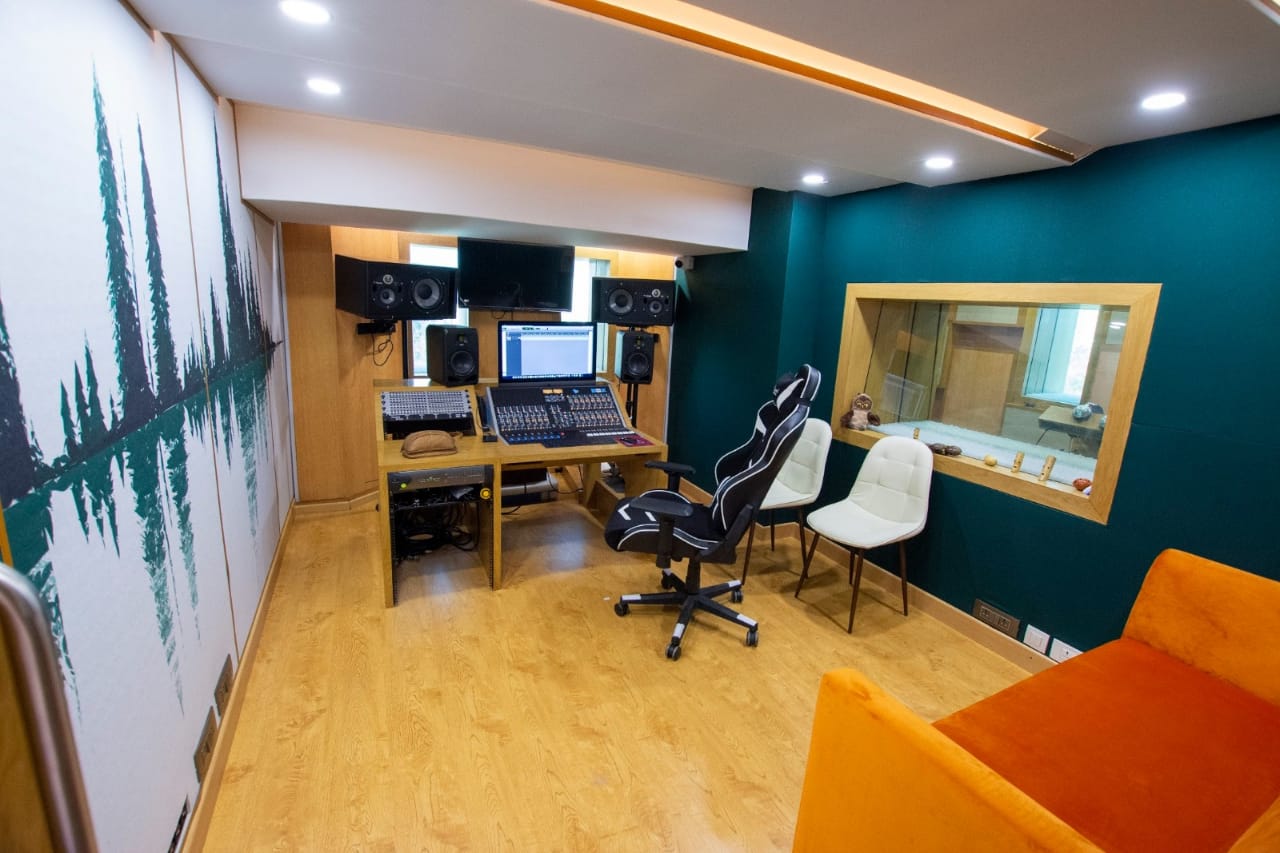
Designed by Munro Acoustics (India), this studio is being awarded the prestigious Dolby Atmos Premier Studio certification. The program measures excellence on every level of a studio’s operation. Room isolation, acoustics, monitoring, equipment and installation standards, mixing competence and technical competence are all measured and evaluated as part of the certification process.
| Categories : |
Recording & Broadcast Studios
|
|---|---|
| Skills : |
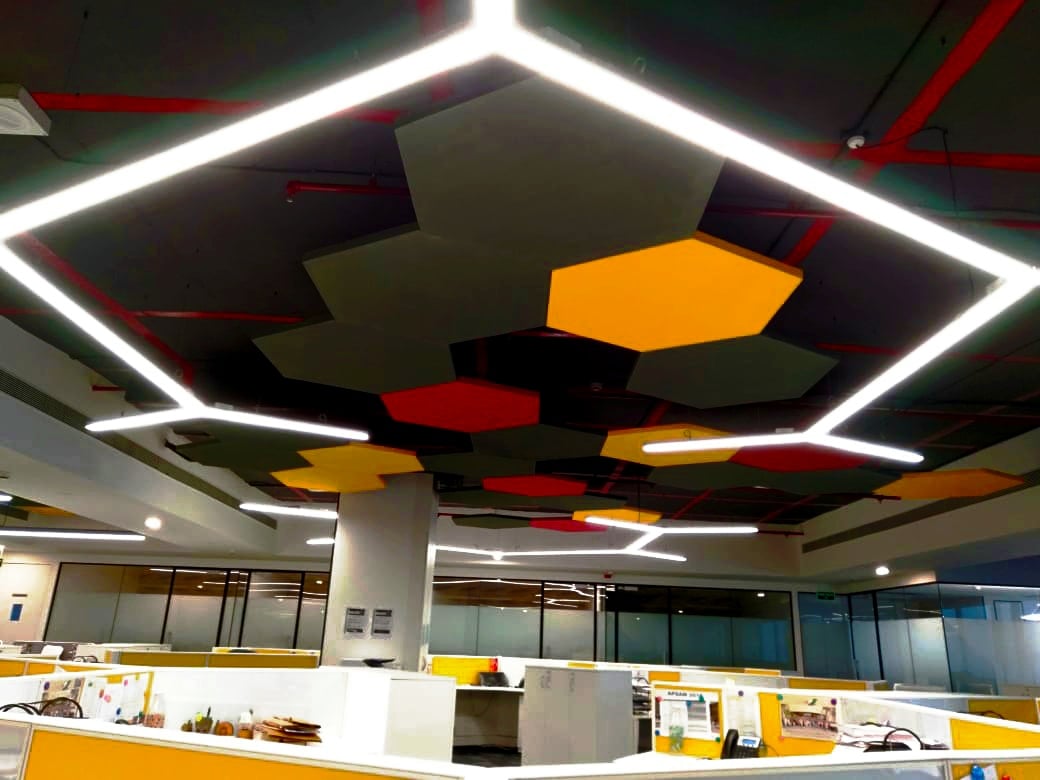
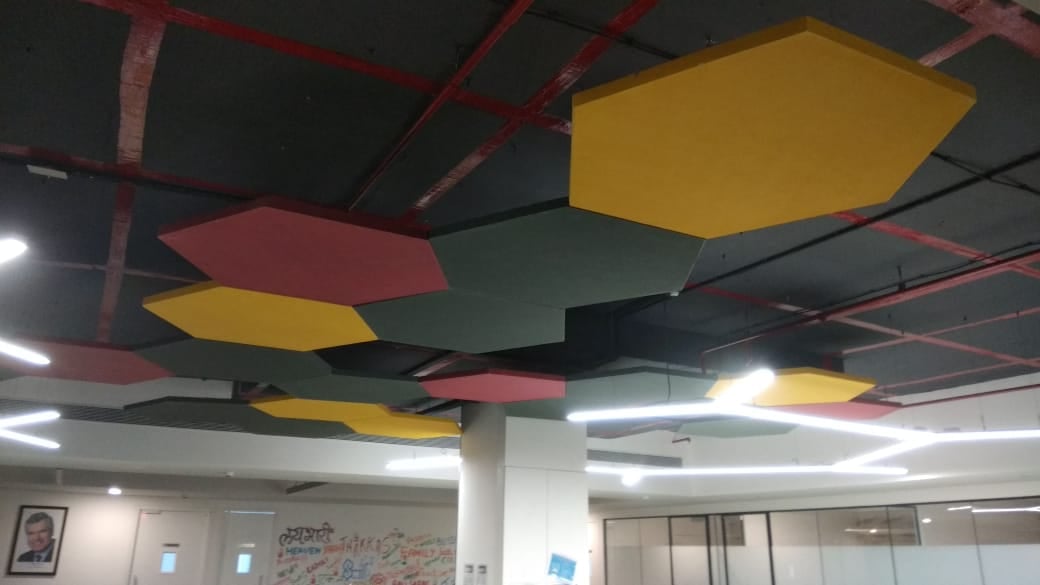
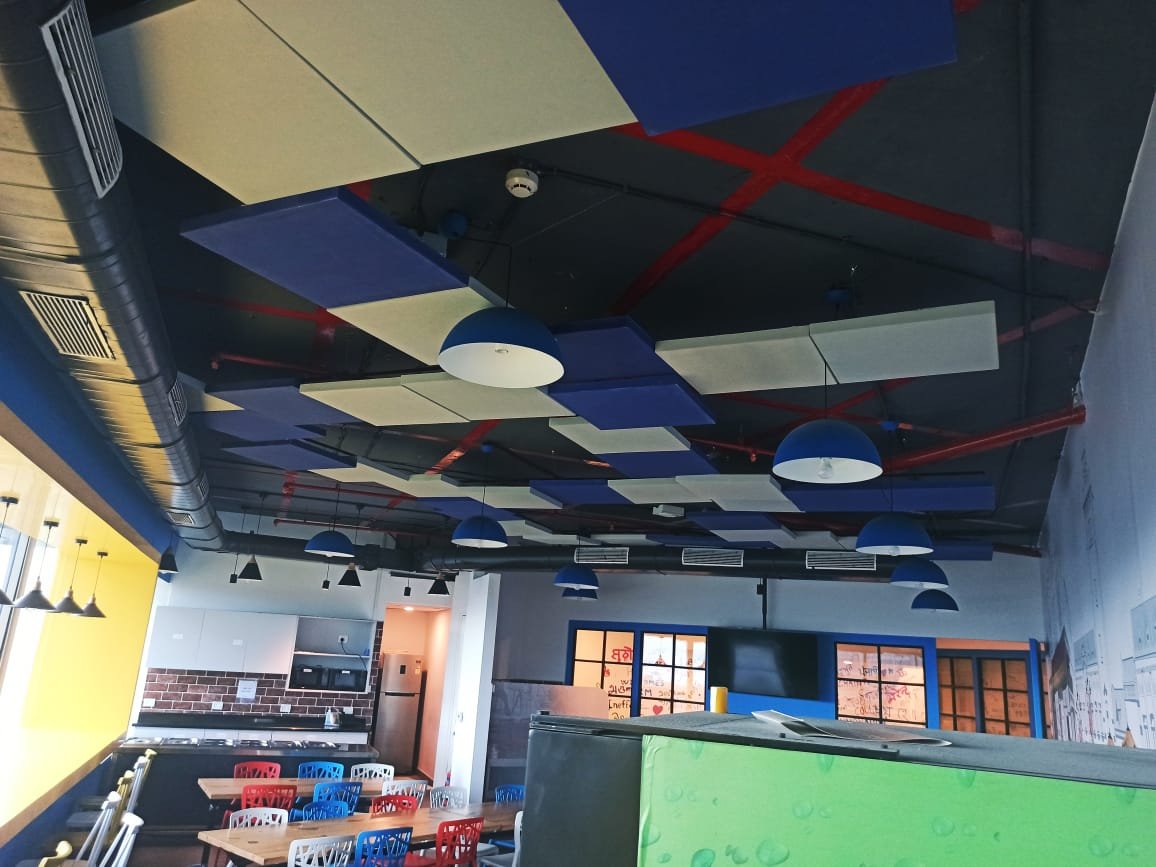
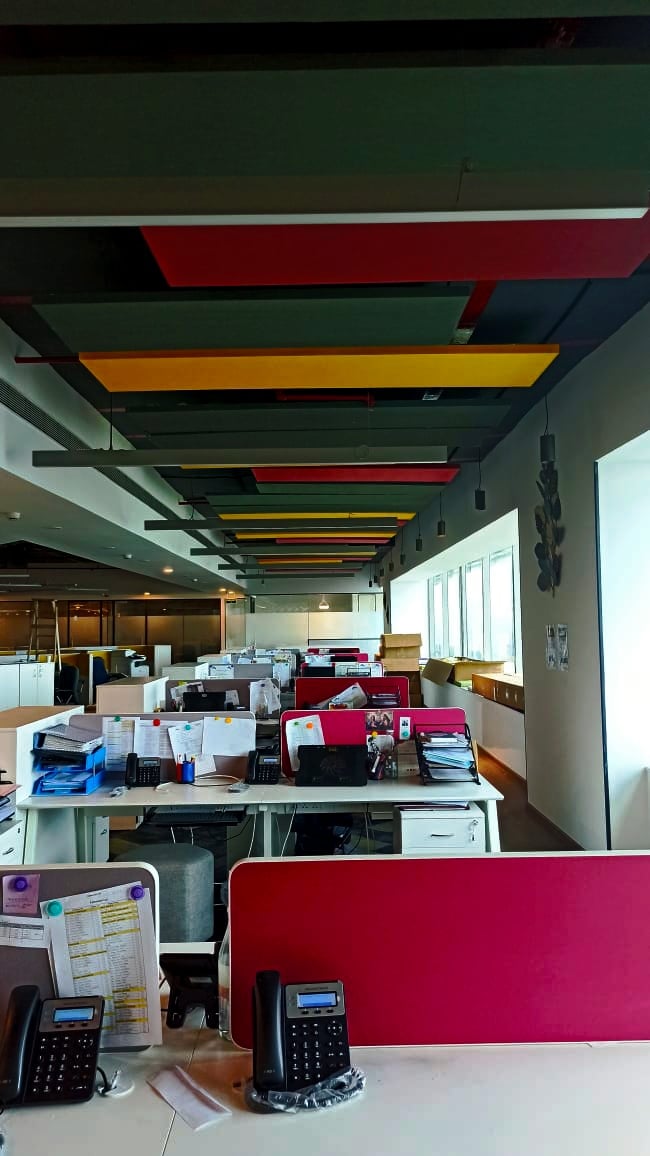
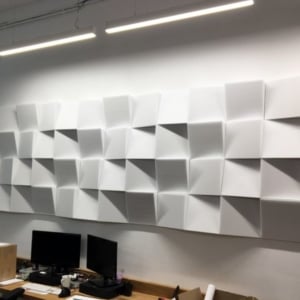
When their newly designed 15000SqFt office was inaugrated, Serdia found that the acoustics were disruptive and deterred productivity. A recent study about open offices design from Oxford Economics found the ability to focus on work without interruptions is a top priority in the workplace—over perks like free food or onsite daycare. Their office was a noisy place, between conversations, phone calls, typing and people rifling through their desk.
Noise was particularly troublesome as call centre desks were putting client privacy at risk since one phone conversation was easily overheard by the rest of the office. A super-silent HVAC system meant there was hardly any background noise to mask the sound. The Aural Exchange team is often called in to improve call centre acoustic issues well after the lighting is laid out and sprinklers are in, limiting what can be done without having to redesign and rewire. We installed a comprehensive acoustic baffle system, ensuring that office acoustics reached desirable levels. Nankarrow Canopus baffles were chosen after a shoot-out with several international brands.
| Categories : |
Commercial Office Spaces
|
|---|---|
| Skills : |
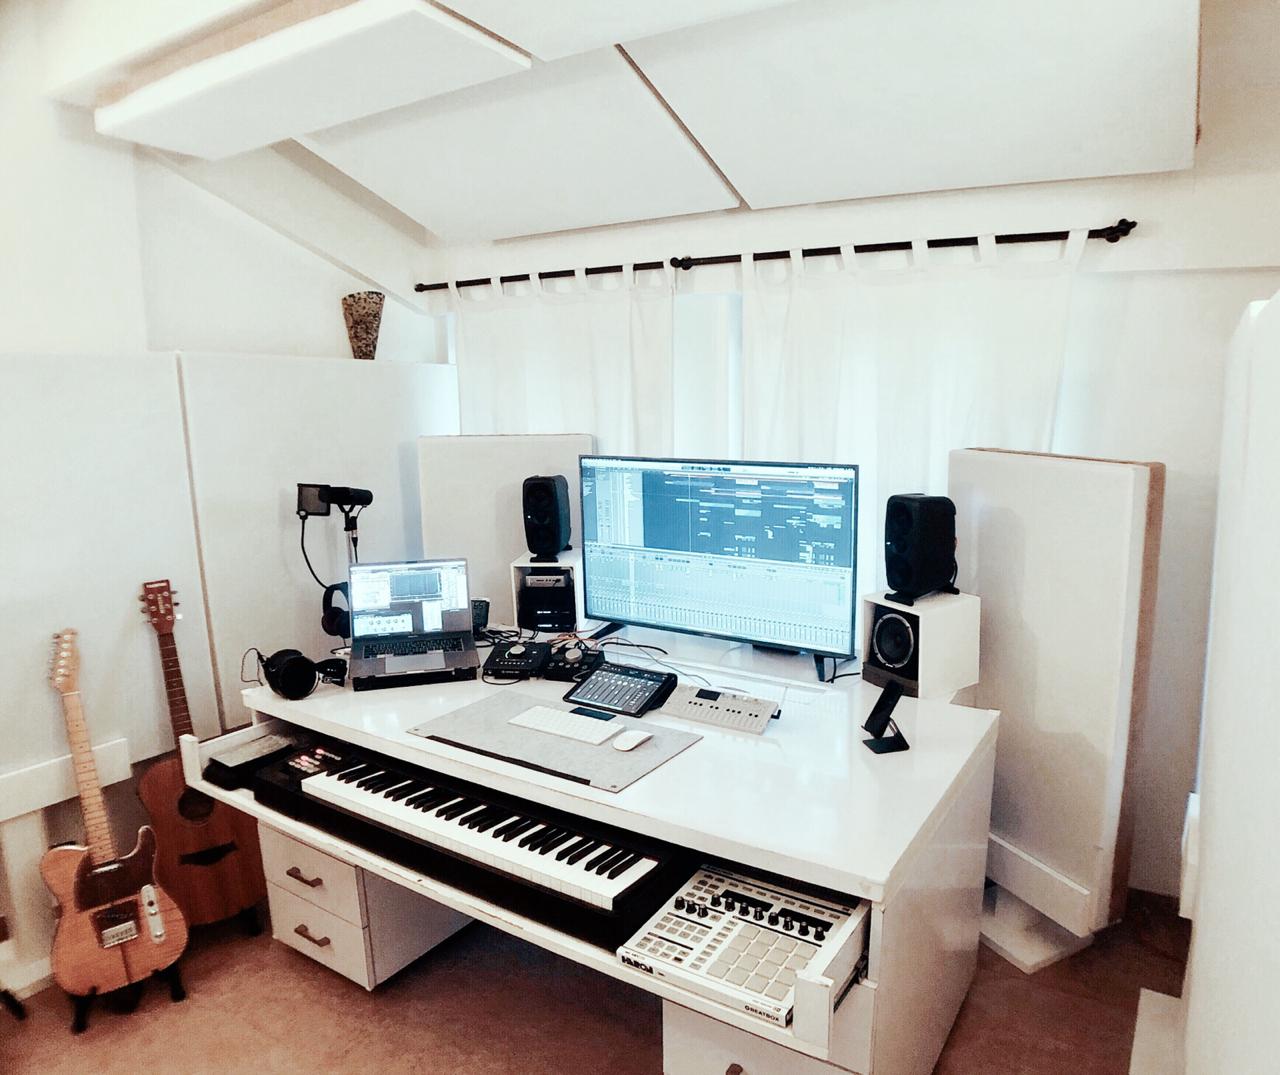
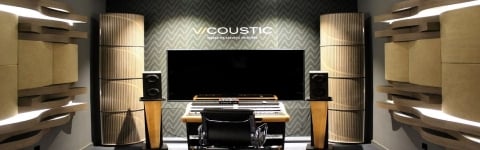
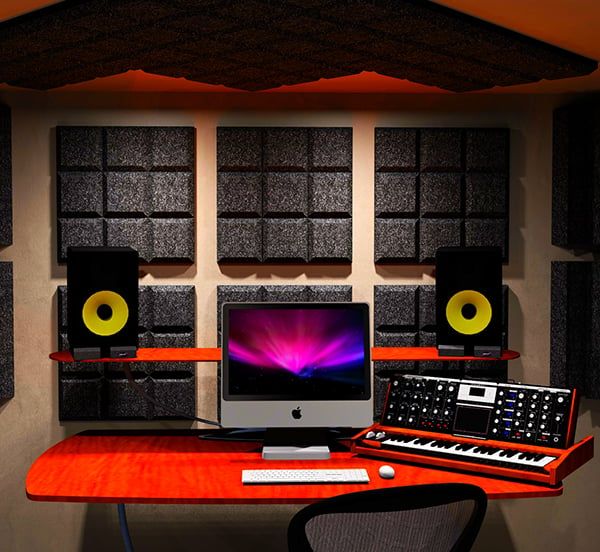
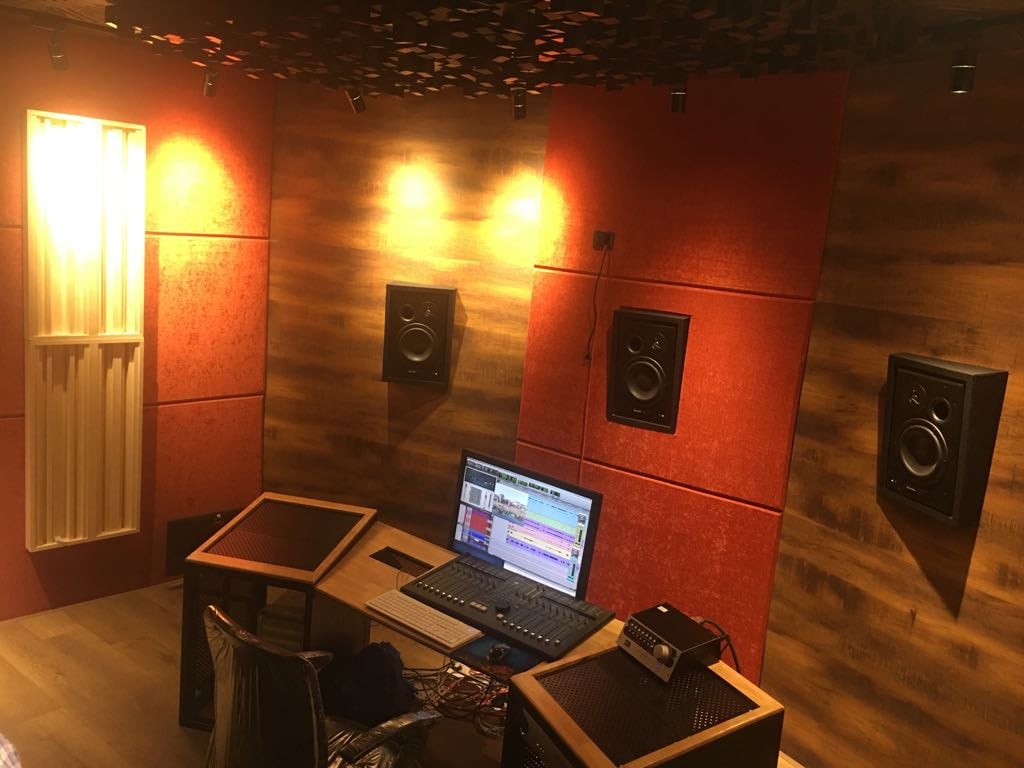
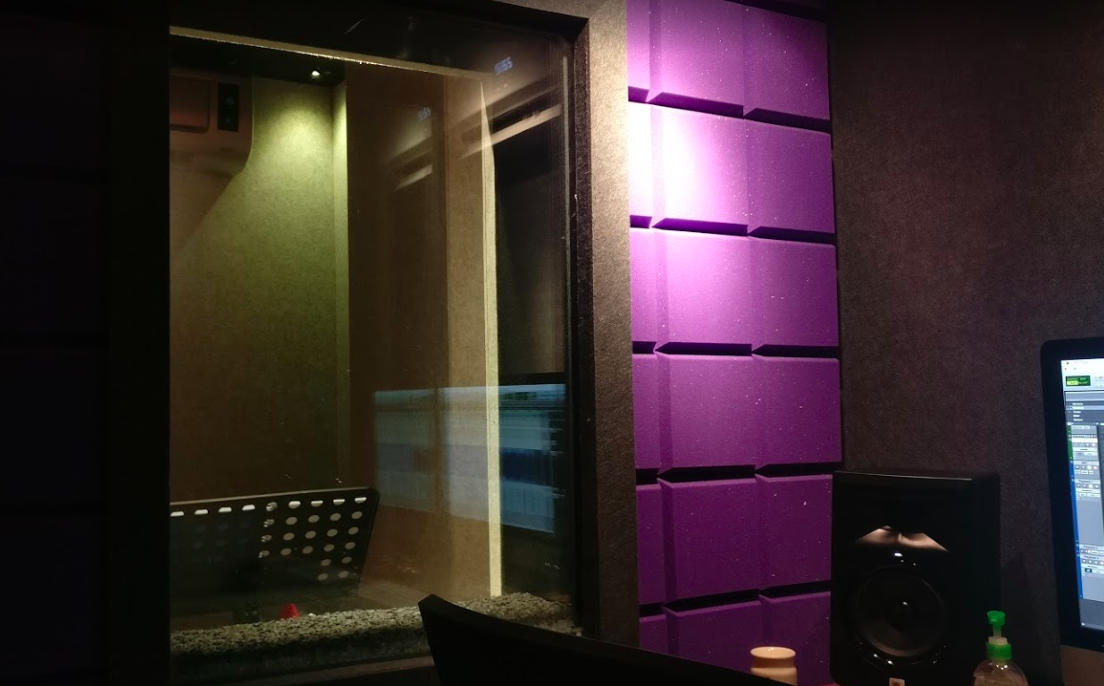
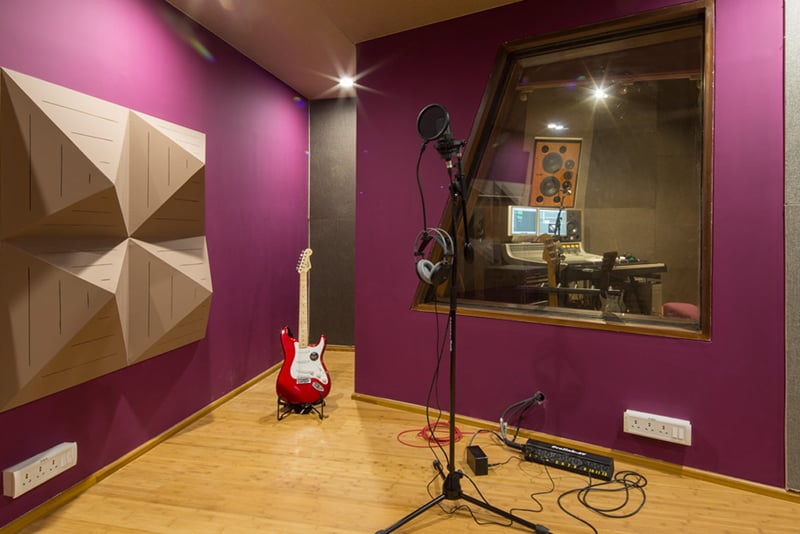
Heron @ Cracked Analogue is a recording artist & producer based out of Liverpool & Goa. Because the monitoring system was well matched to the size of the room (IK Multimedia iLoud MTM/Avantone Mix Cube), the room did not suffer from excessive modal problems and the approach used was broadband absorption panels (4″) made from 48kg/m3 Knauf Acoustic Slab Ultimate, which is the best absorber in our catalog for critical listening spaces. The coverage was optimised to retain the natural brightness of the room while taming low-mid resonances to ensure accurate mixes.
Website: https://heron.uk.com
| Categories : |
Recording & Broadcast Studios
|
|---|---|
| Skills : |
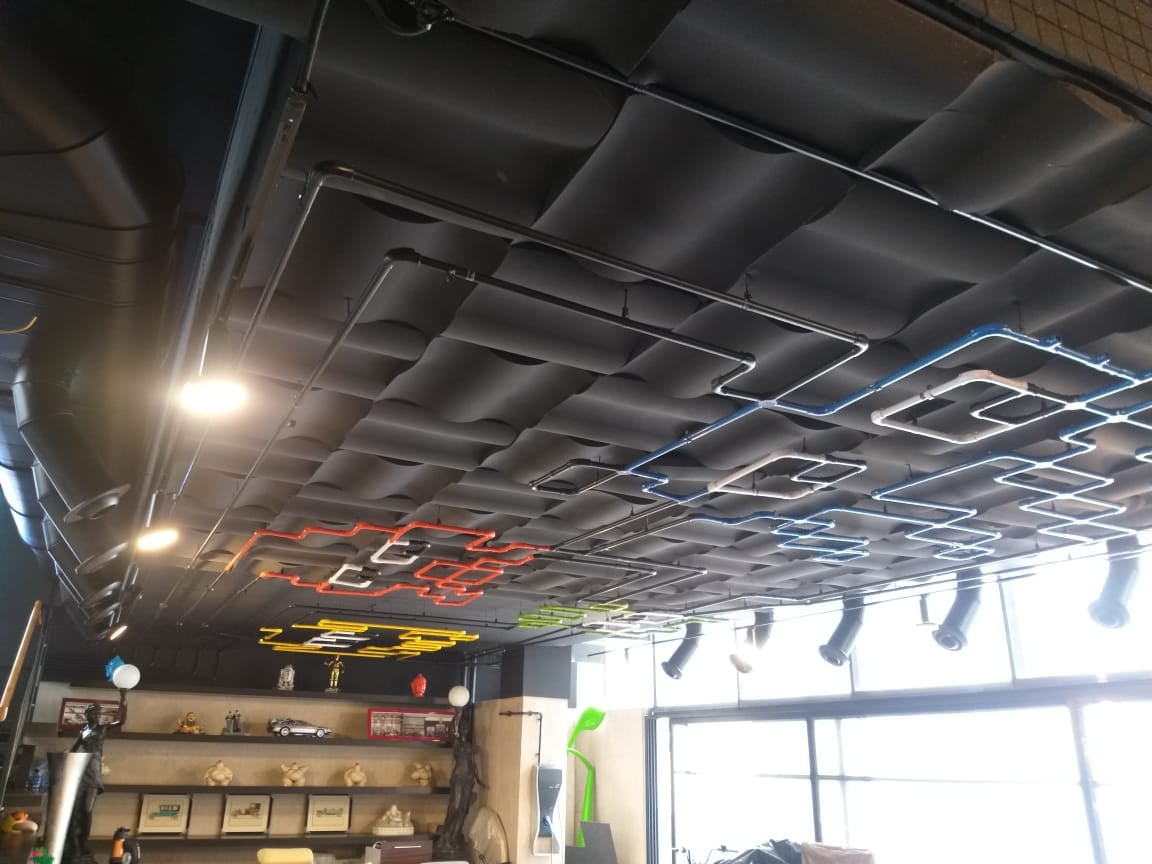
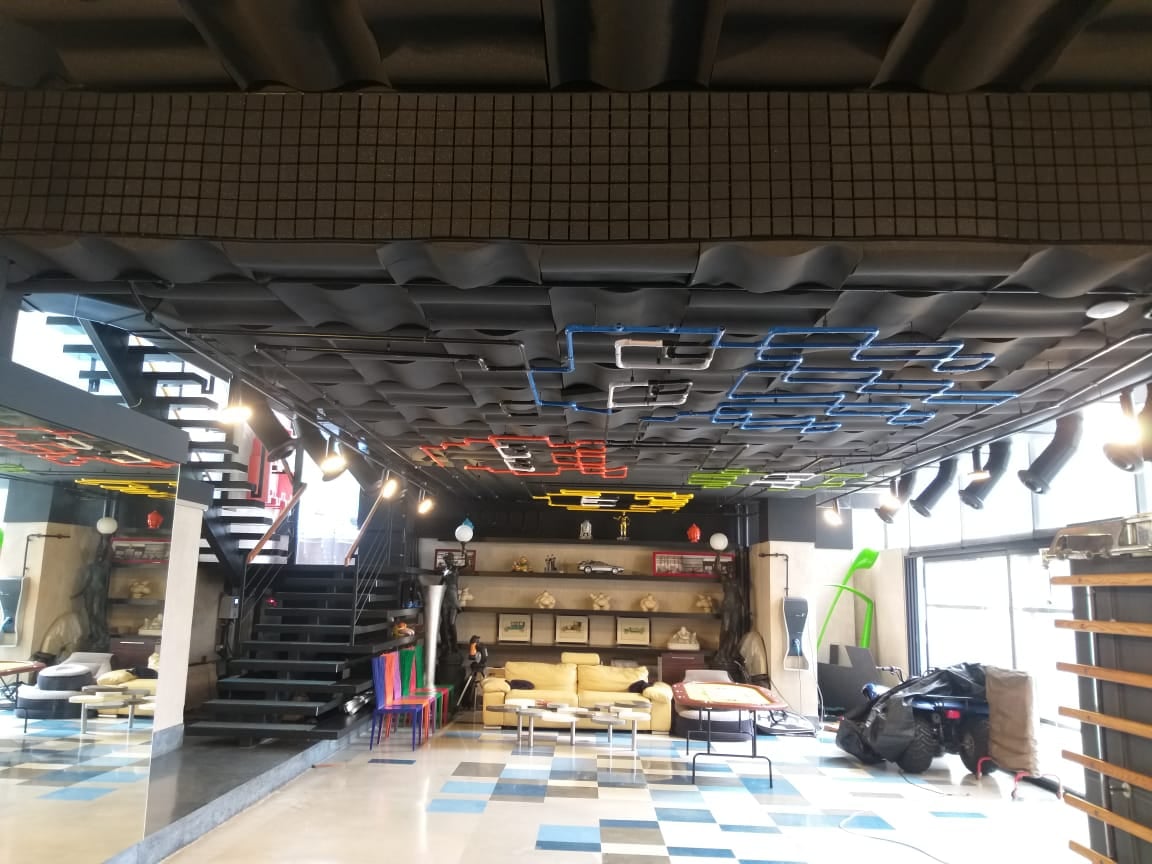
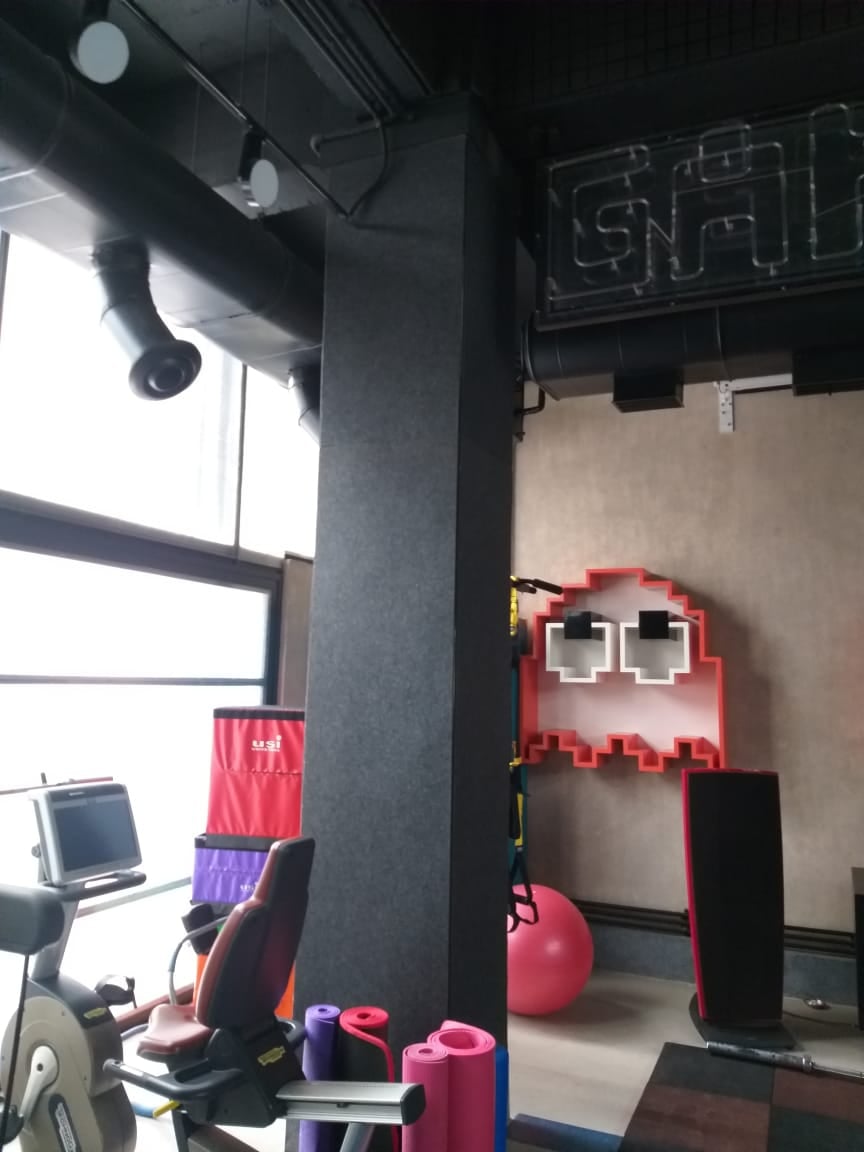
A high profile private high-ceiling multimedia/AV room cum gymnasium was treated using a combination of Nankarrow NeoGrid & NeoCurve panels along with Nankarrow GeoDeco for the columns. The reverberation times were reduced from 6.2 seconds to 0.95 seconds from 125Hz.
| Categories : |
Bars & Nightclubs, Halls/Banquets
|
|---|---|
| Skills : |
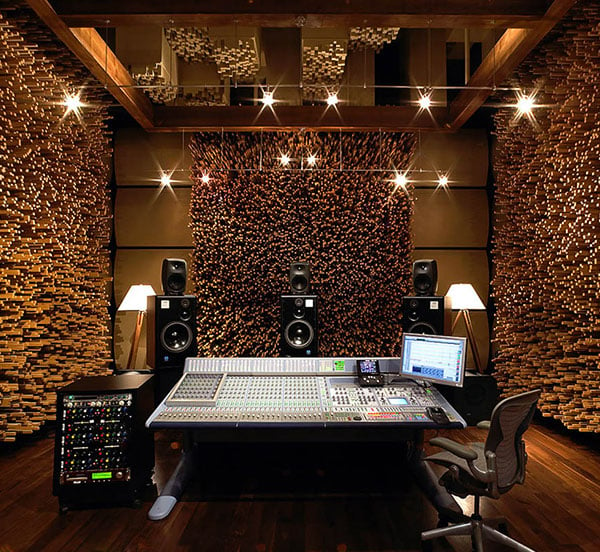
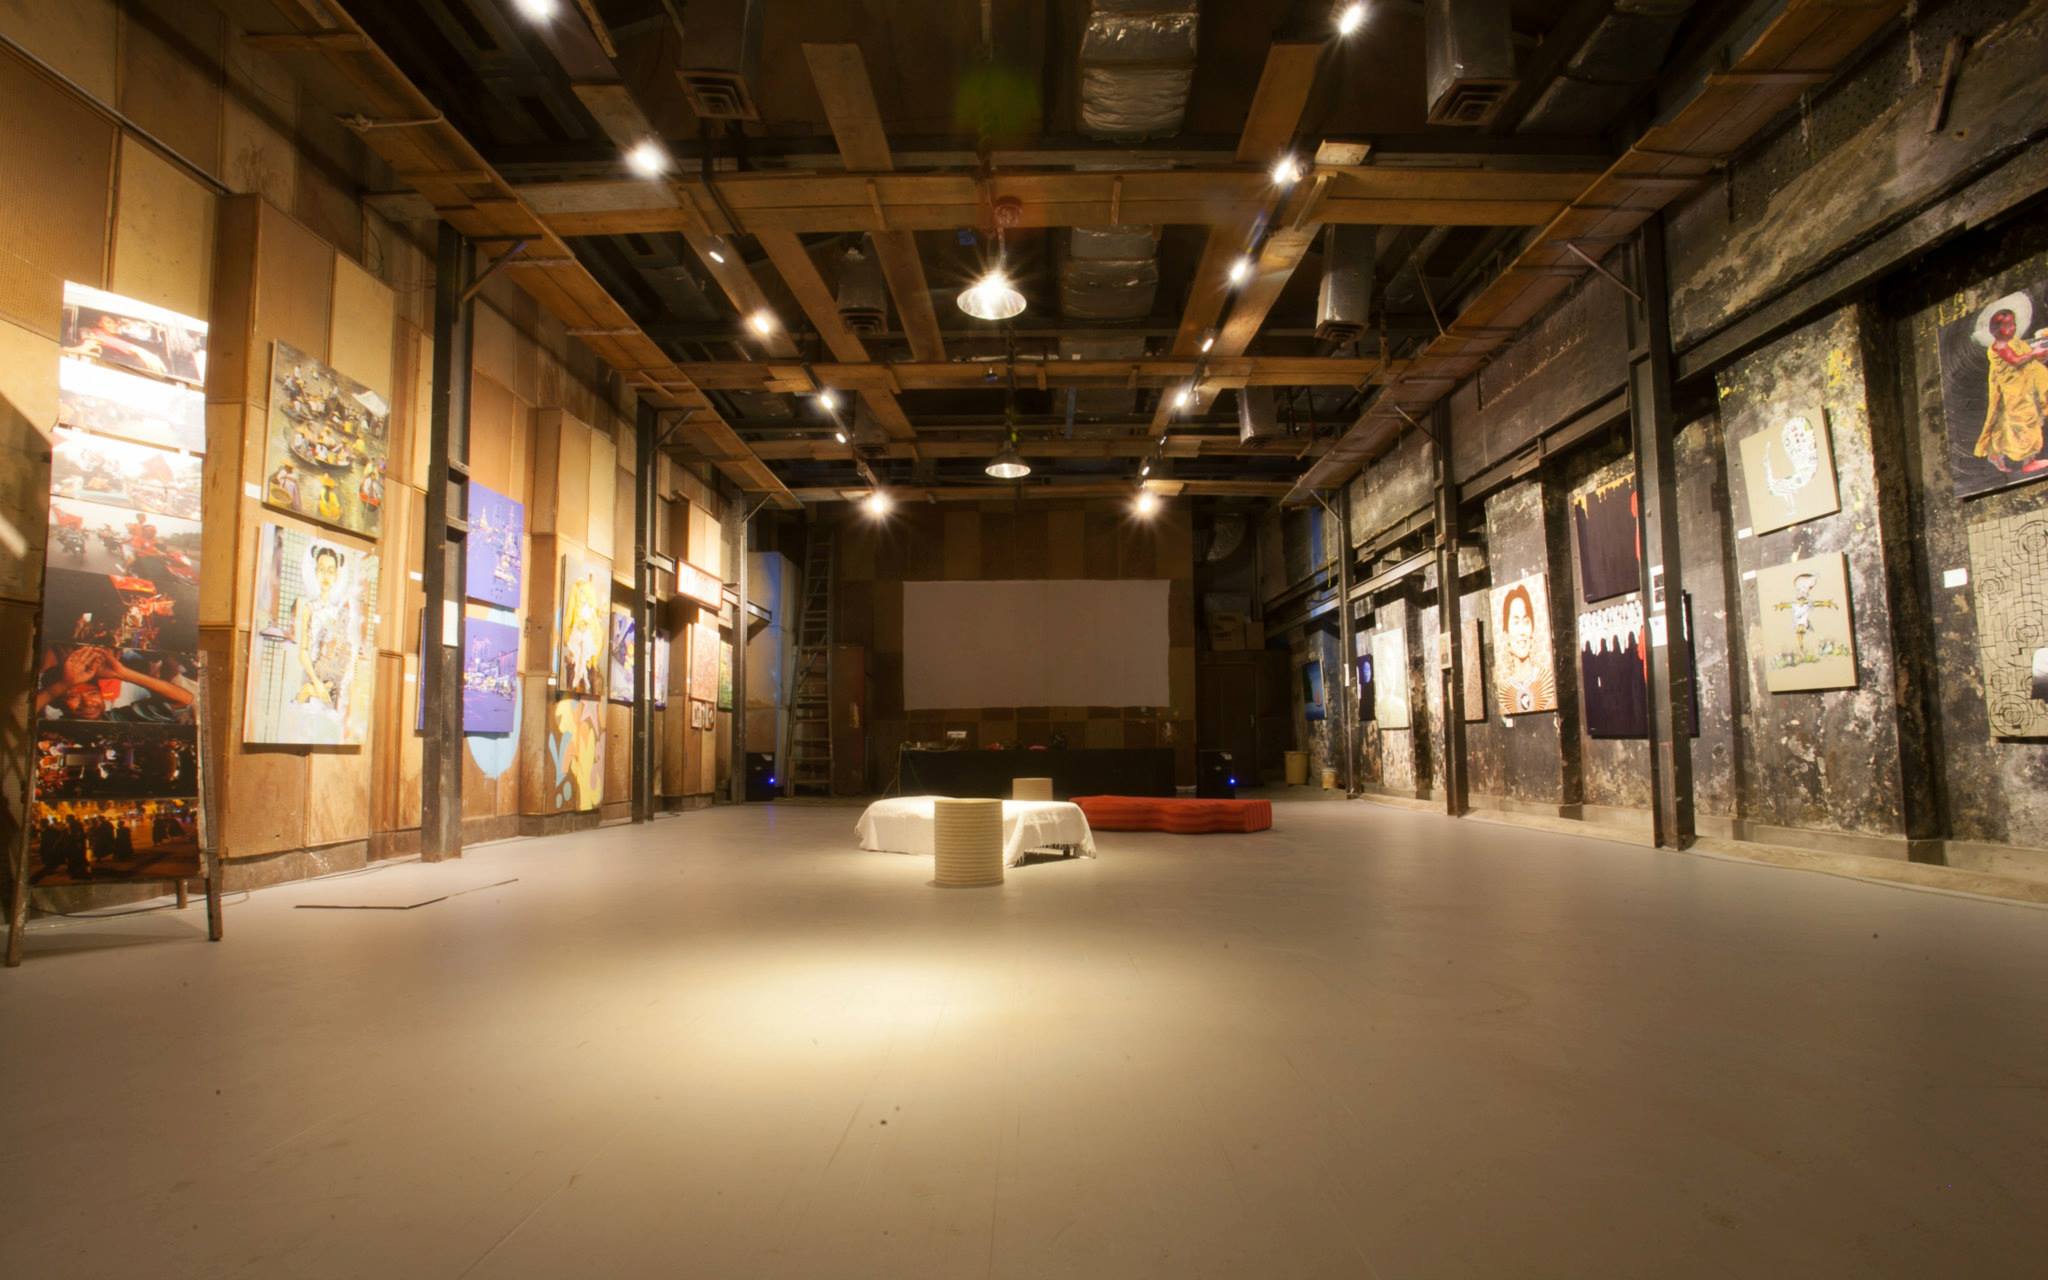
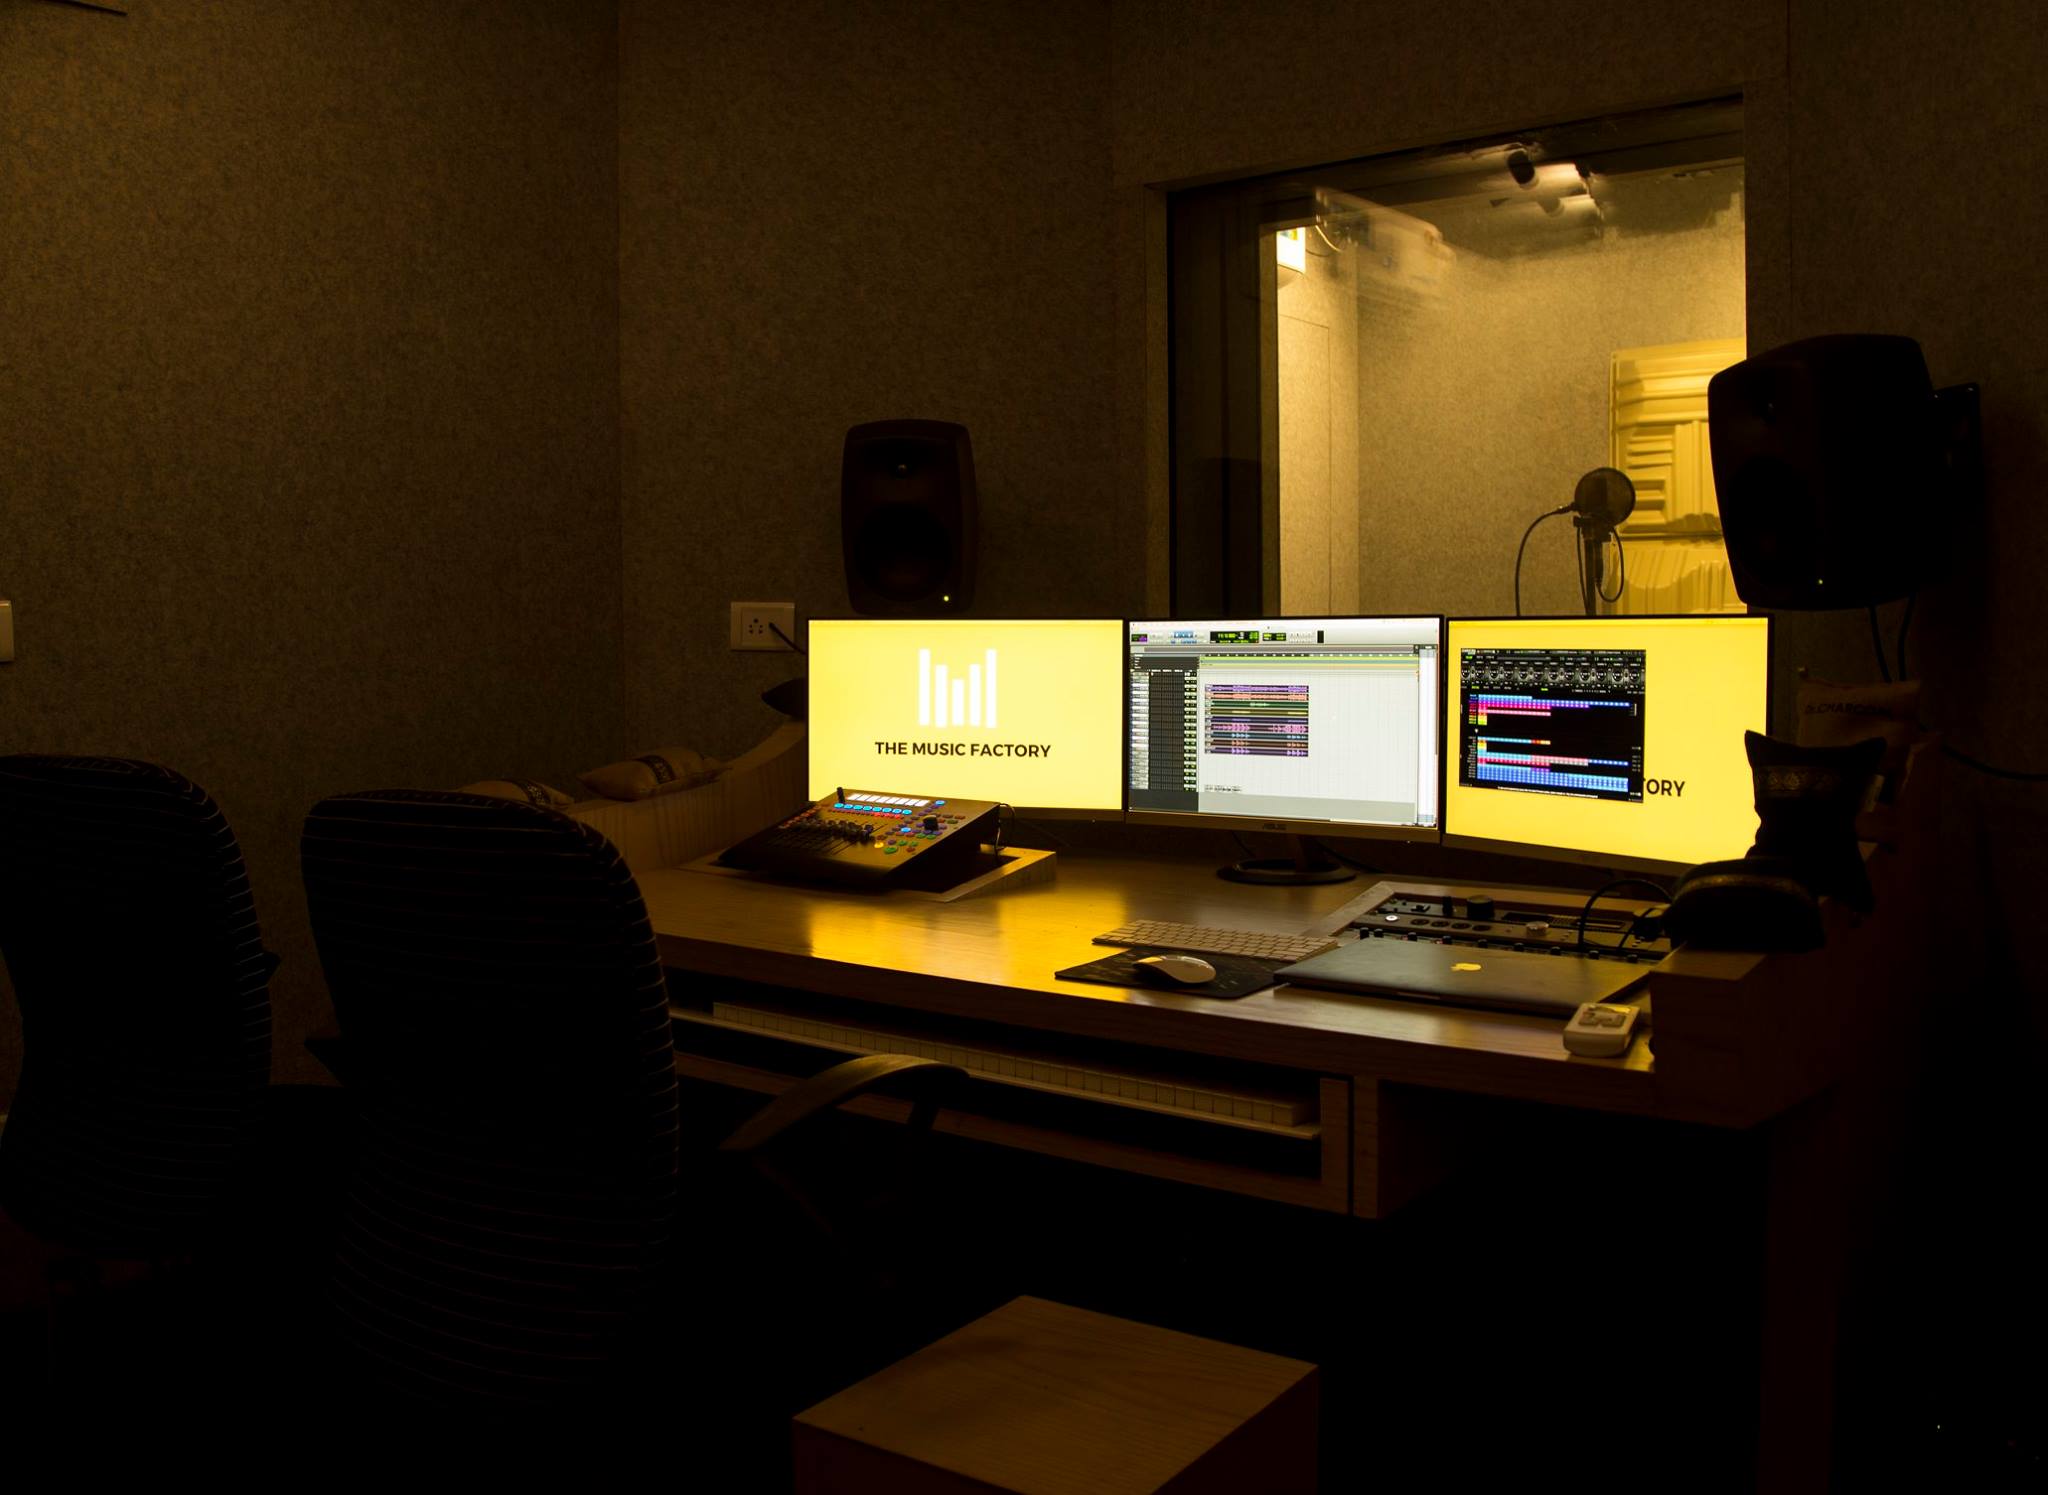
State-of-the-art multi-facility music production studios in Khar, Mumbai. A favourite of Mumbai’s finest musicians, advertising agencies, and film-makers. In the news: http://palmtechnology.in/Article_71_Bay_Owl_Studios_Not_Just_Music_by_the_Bay.aspx
| Categories : |
Recording & Broadcast Studios
|
|---|---|
| Skills : |
Products used: Nankarrow Resorb. Vicoustic DC2 Multifuser. Nankarrow QRD-QD2 Diffuser
| Categories : |
Recording & Broadcast Studios
|
|---|---|
| Skills : |
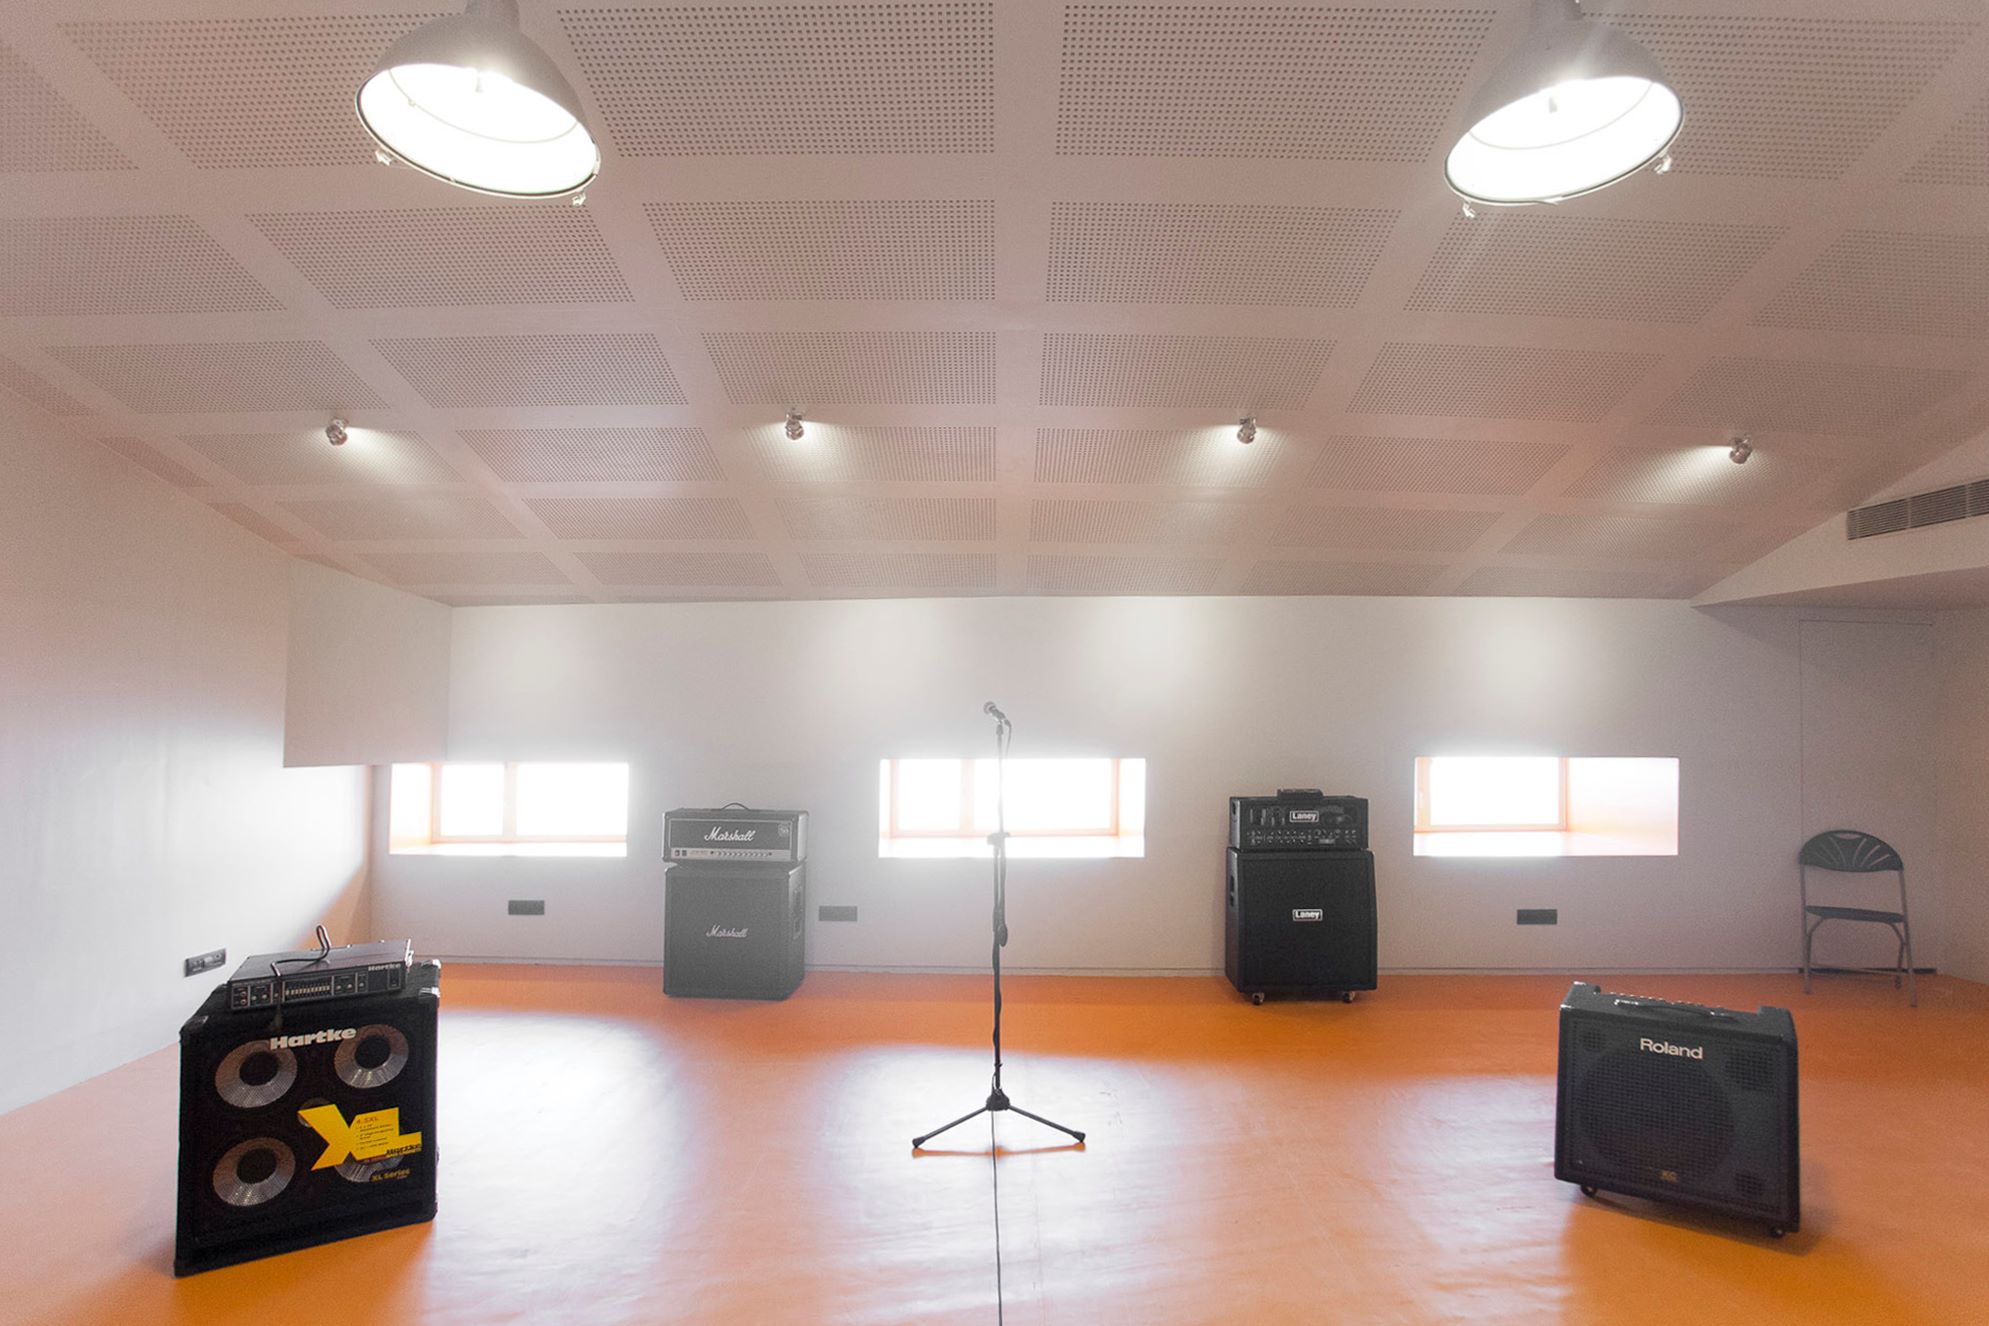
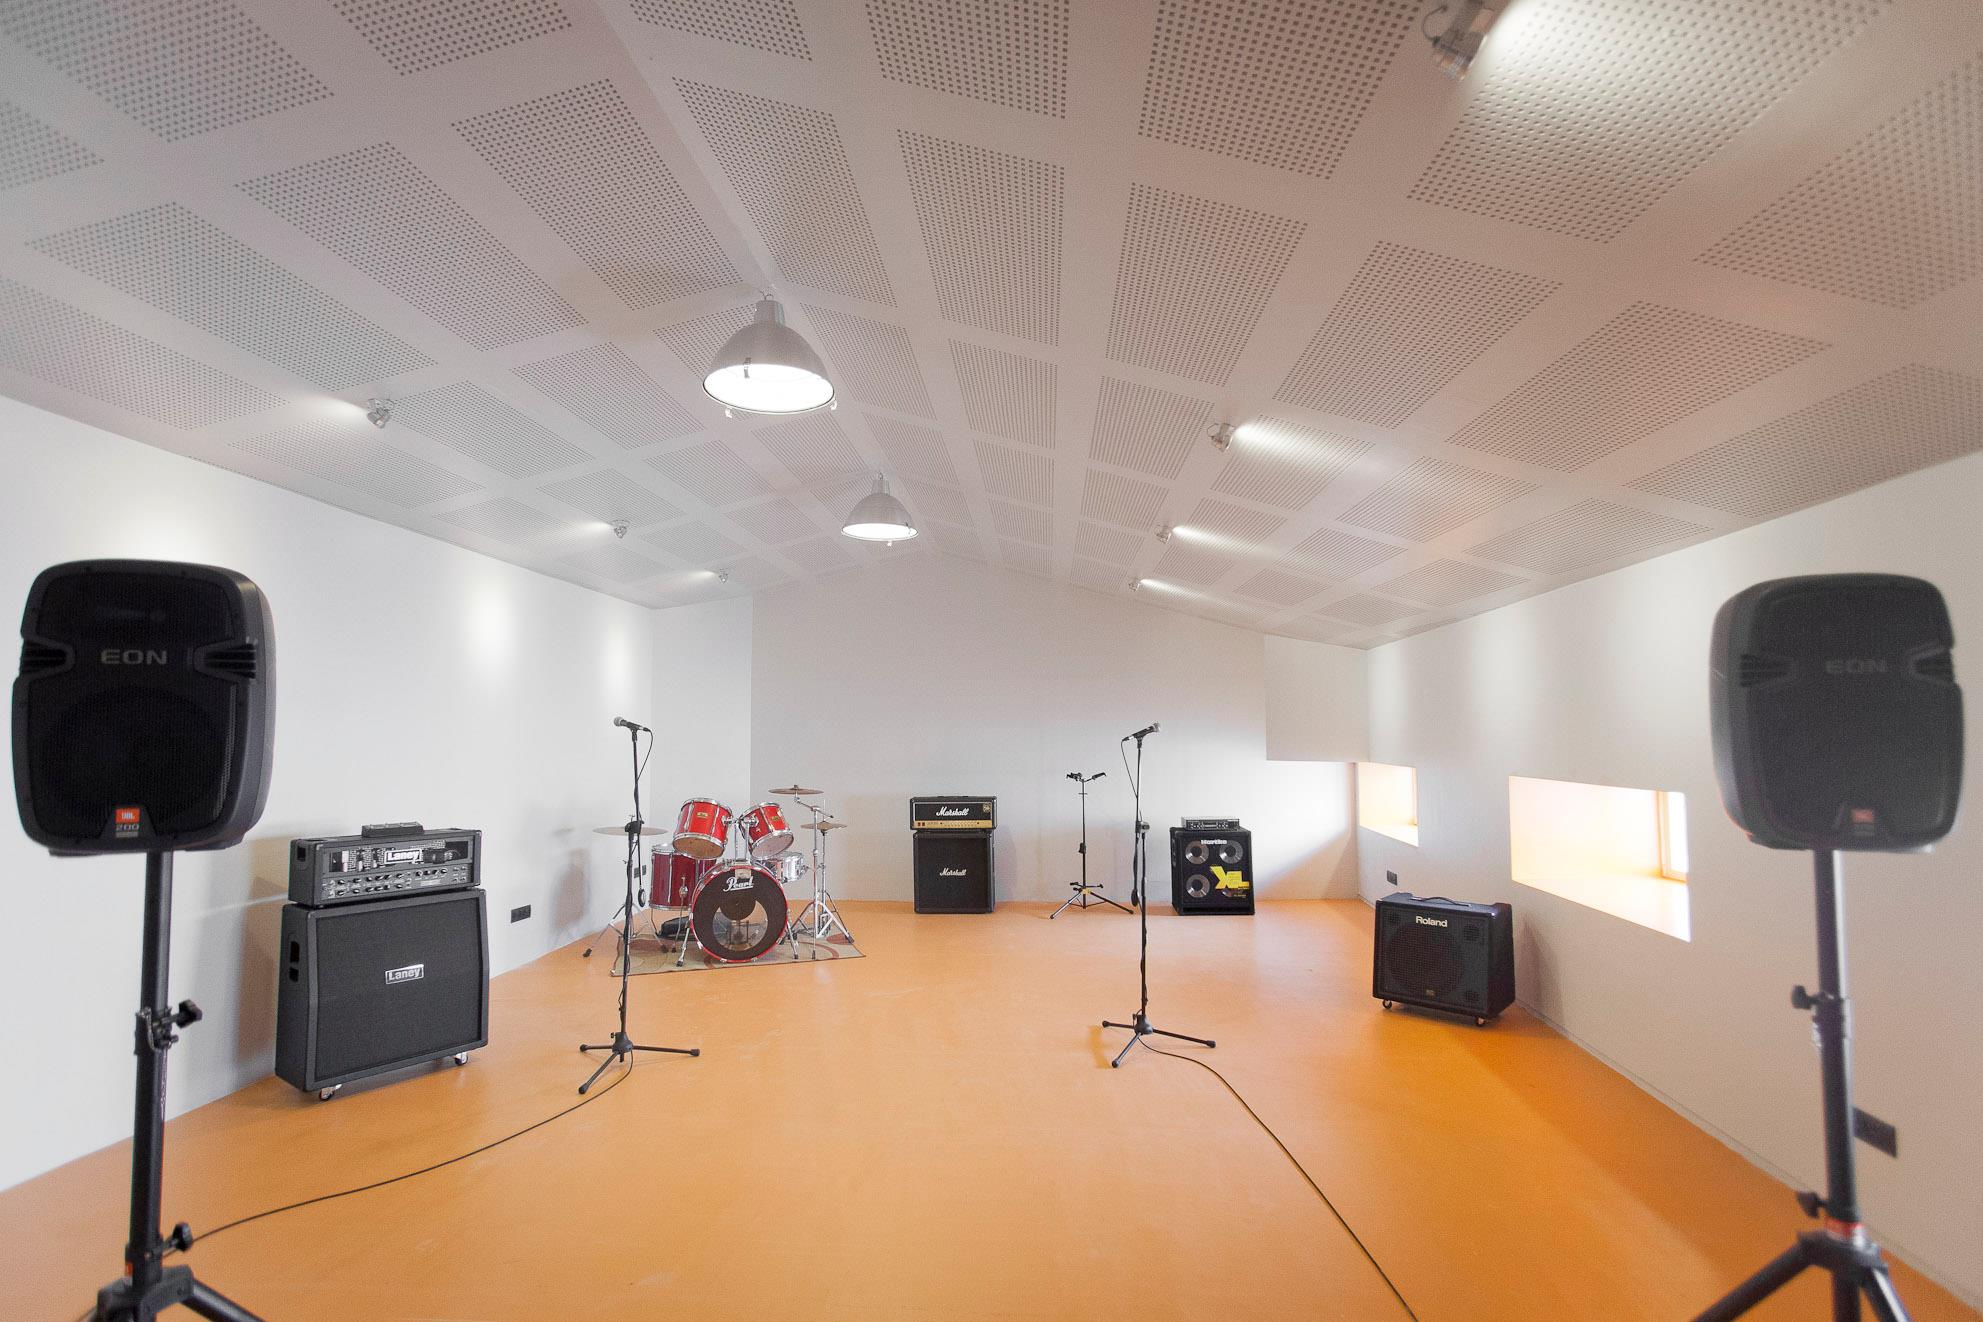
| Categories : |
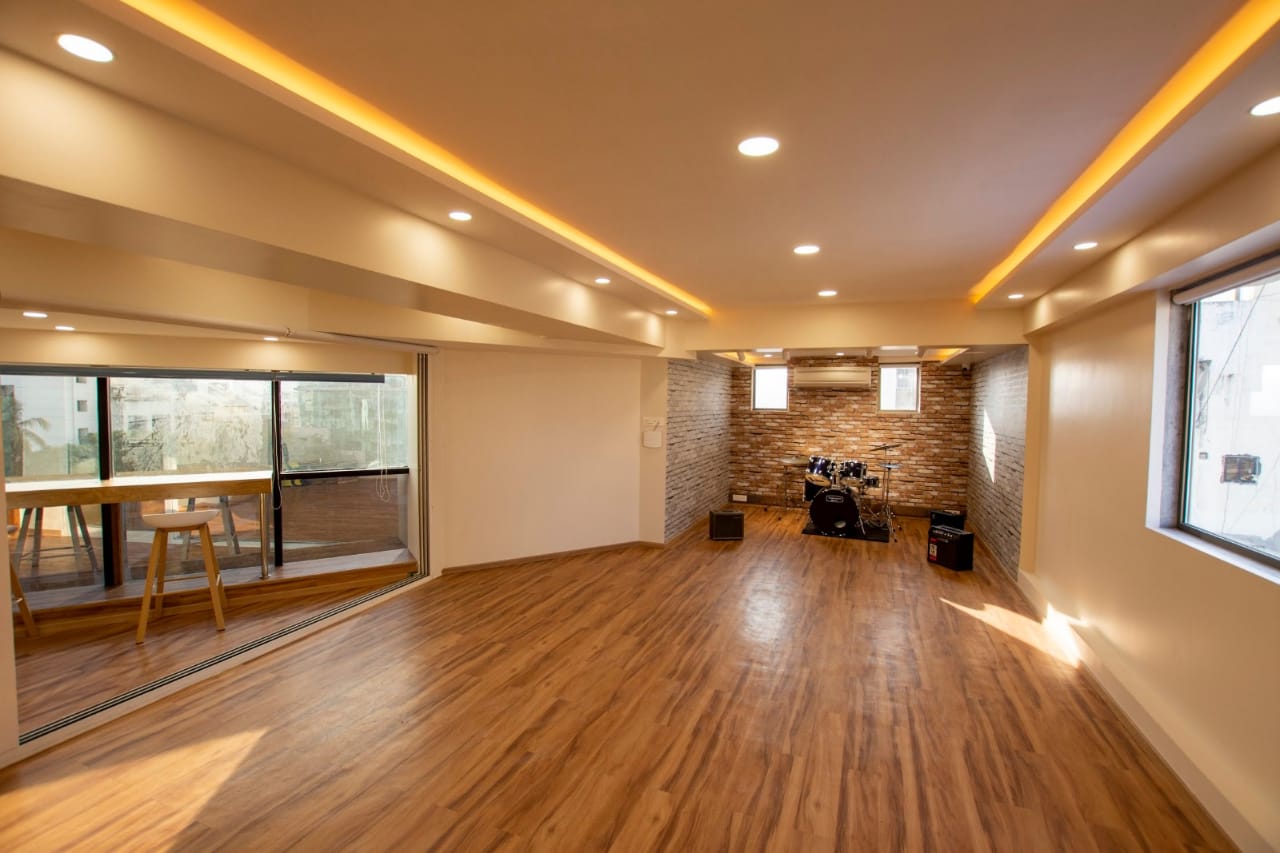
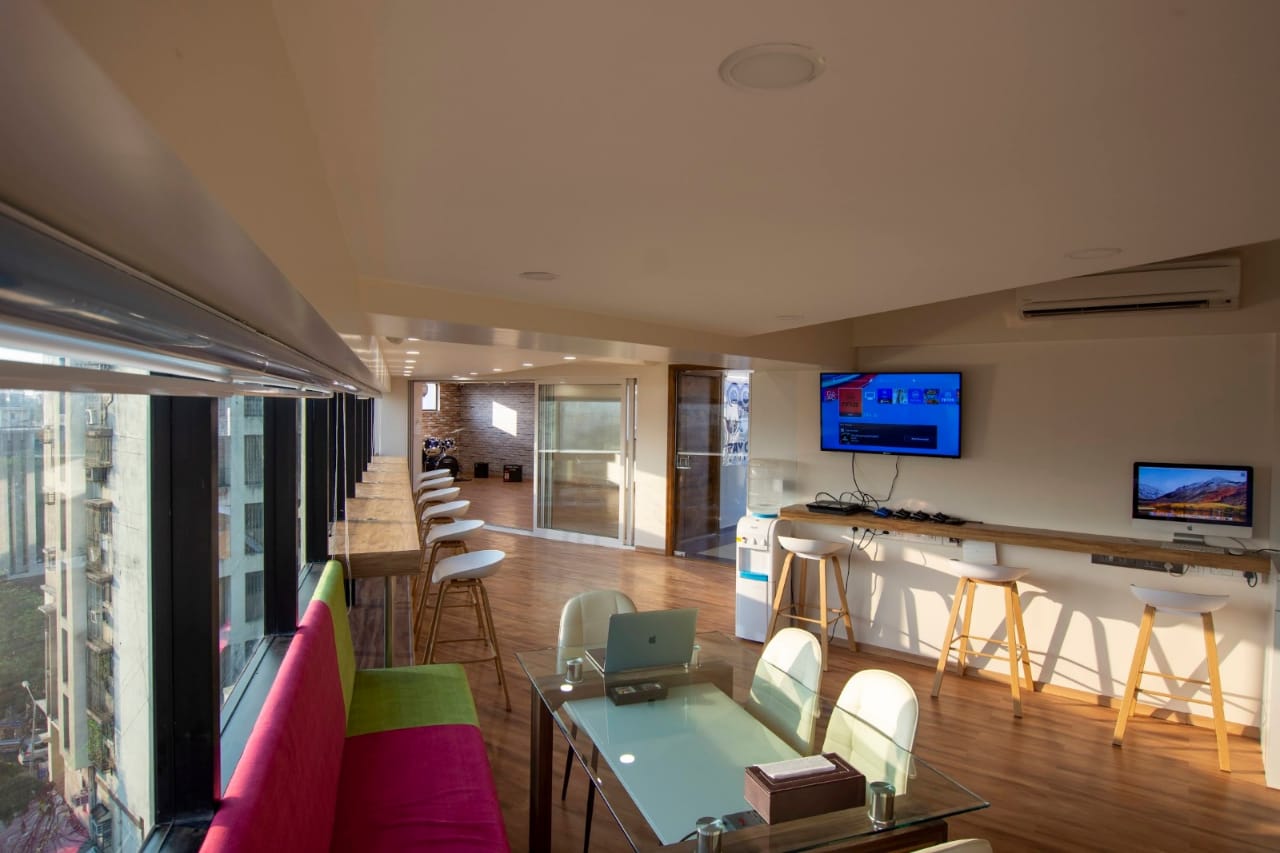
Rehearsal Studios
|
|---|---|
| Skills : |
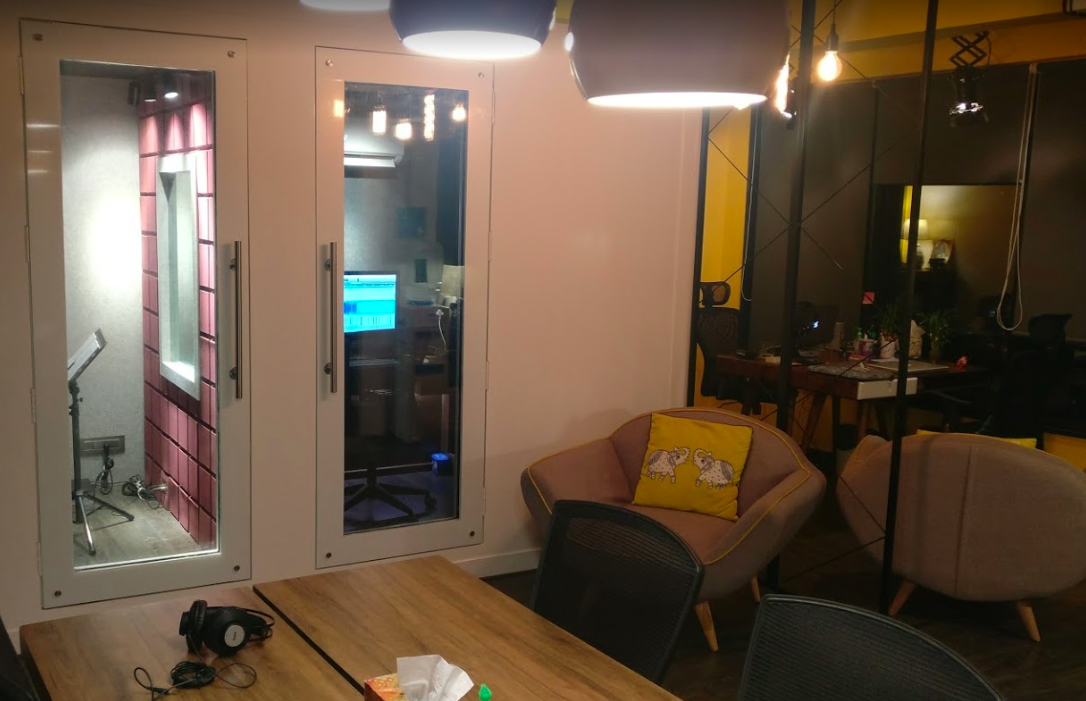
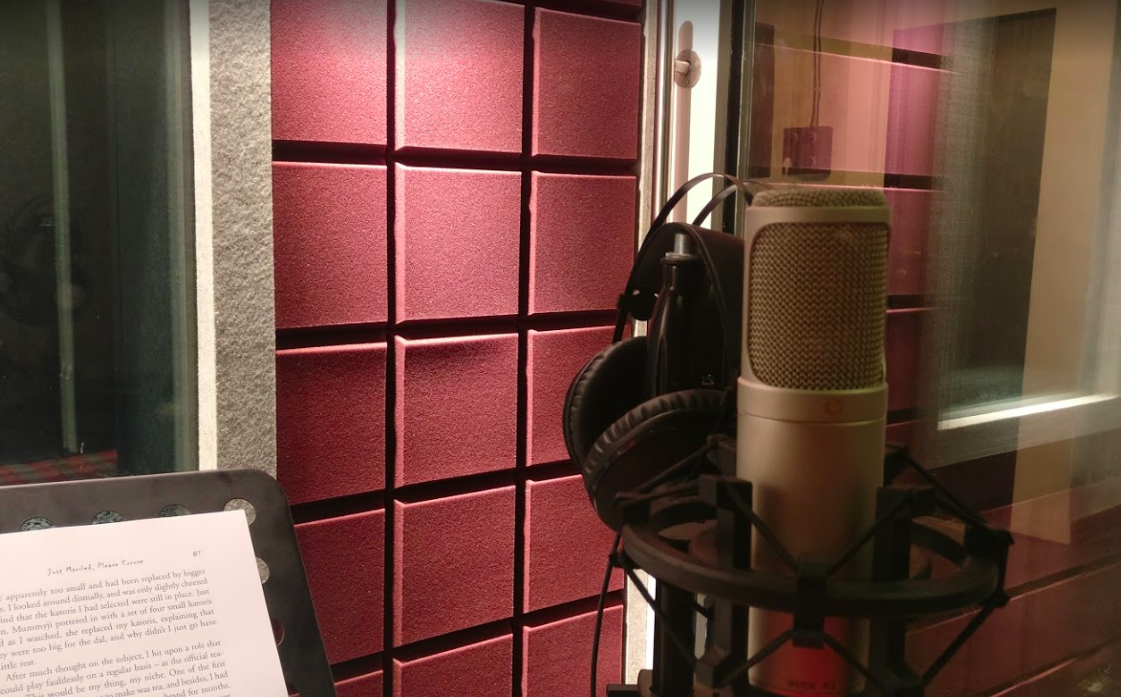
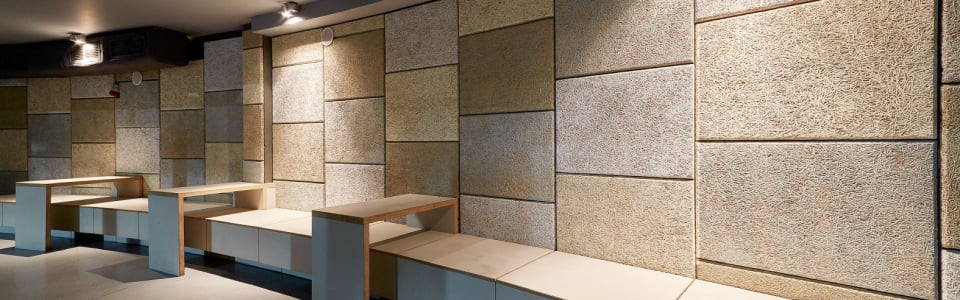
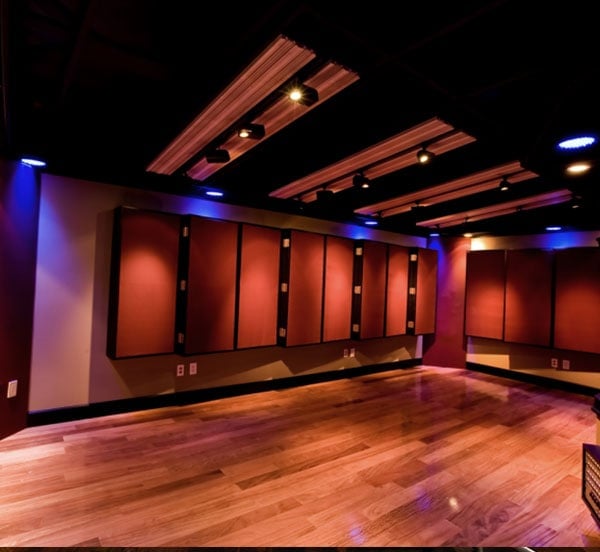
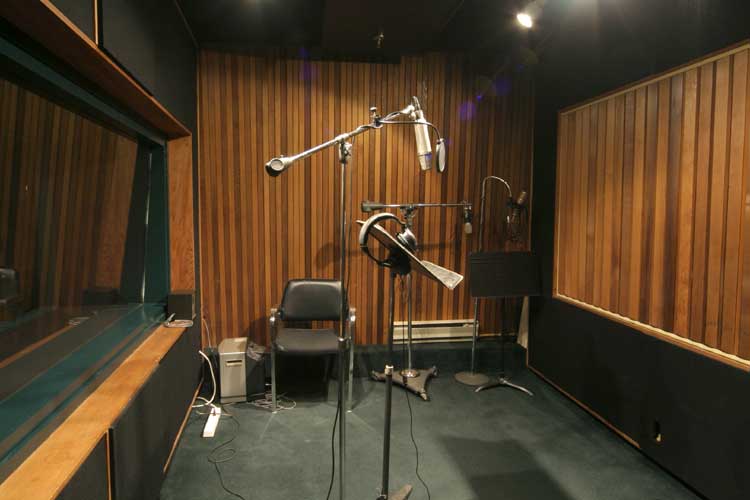
Notable for its compactness and its floating “pod” design, this studio serves as a voiceover studio specialising in international audiobook production.
| Categories : |
Recording & Broadcast Studios
|
|---|
An avant-garde music production studio run by composer Kingshuk Chakravarty, the mix room features massive broadband in-wall absorption in a wide reflection free zone in the mix room for a smooth response down to 40Hz, Nankarrow GeoDeco Nankarrow LoPro bass traps, Hertz Acoustic & Auralex diffusers.
| Categories : |
Recording & Broadcast Studios
|
|---|---|
| Skills : |
Acoustic consultancy for outdoor noise barrier for air conditioning cooling units that power the mall.
| Categories : |
HVAC, Outdoor
|
|---|---|
| Skills : |
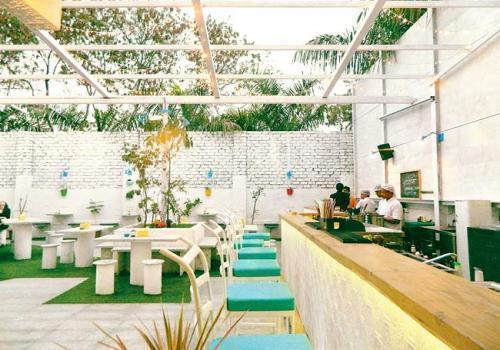
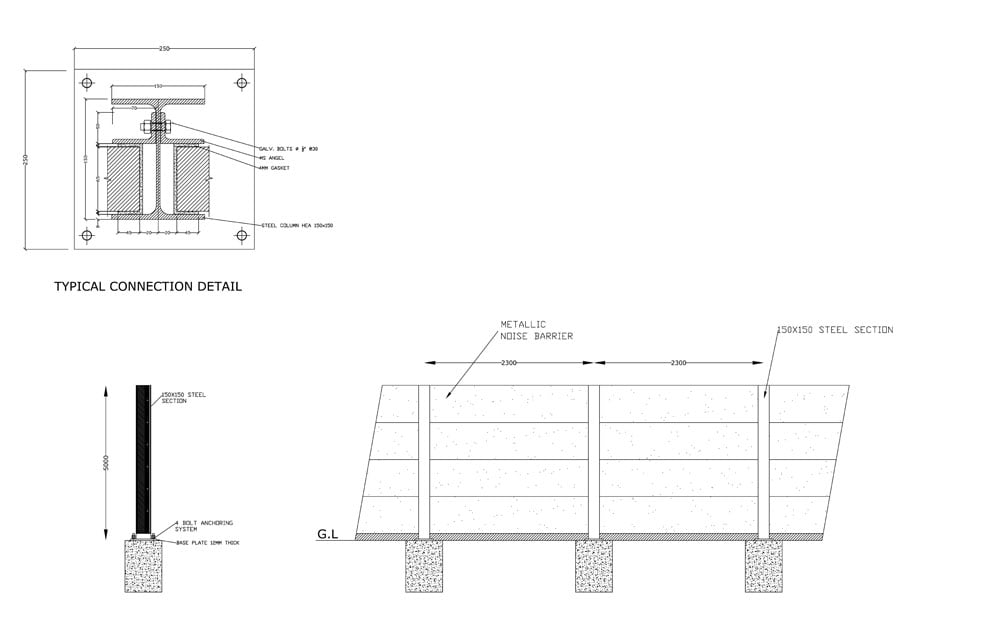
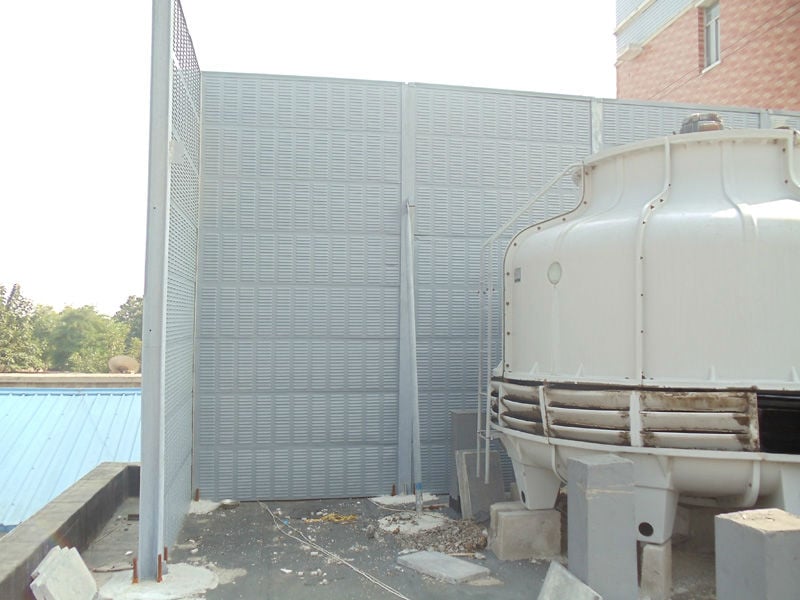
Developed and installed a 3 ton modular outdoor noise barrier to prevent sound from travelling to a neighboring bunglow owned by an influential person. The civil engineering challenge was to to start the barrier at a height of 4.5 ft. The barrier was successfully commissioned and performs with a broadband STC of 30dB. Also installed acoustic and thermal insulation for kitchen and lobby areas.
| Categories : |
Bars & Nightclubs, Outdoor
|
|---|---|
| Skills : |
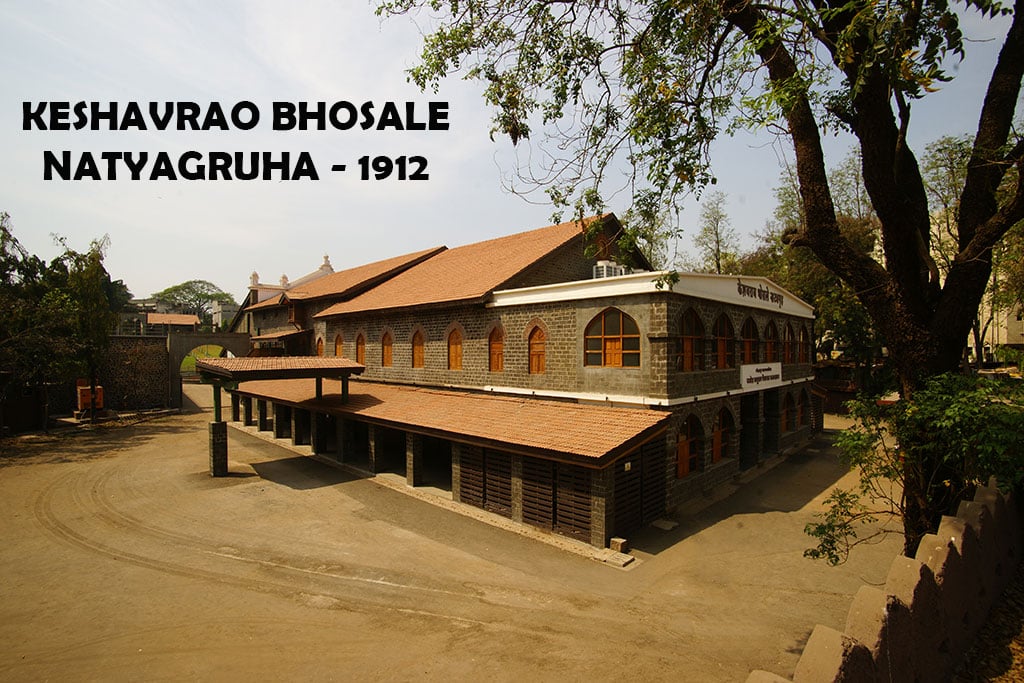

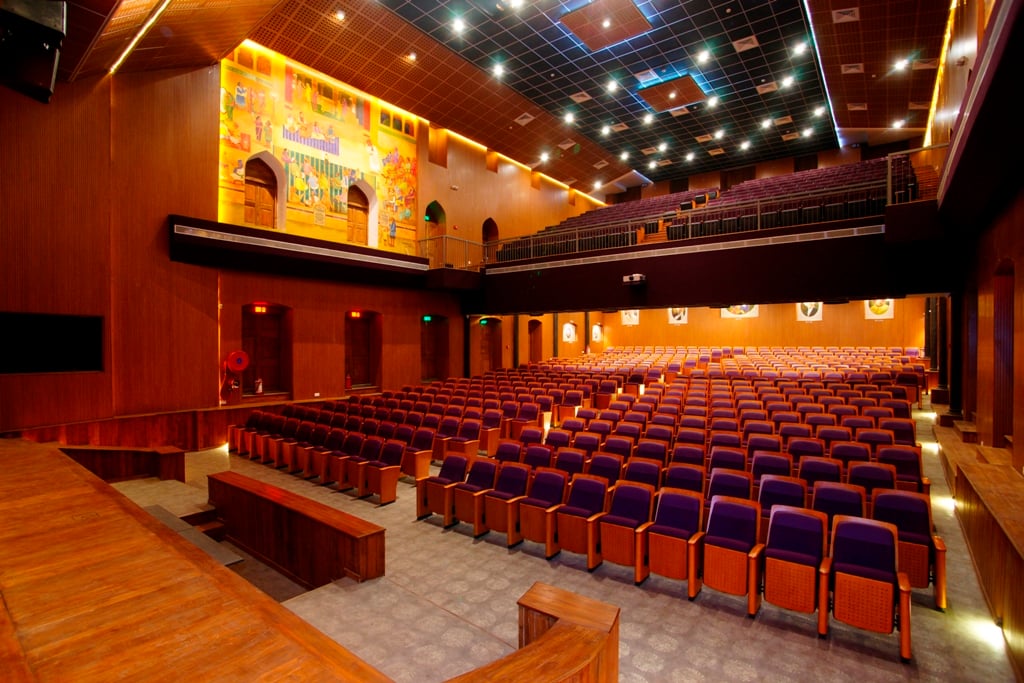
India’s oldest auditorium, restored with modern acoustics and audio visual systems, while keeping the look and feel intact. Architect: Surat & Anjali Jadhav
Consultant: Ashutosh Pande
Awards Won:
1. National Award – Heritage Design
2. A’ Design Award (Italy) – Cultural Heritage Design
Press Links:
| Categories : |
Auditoriums
|
|---|---|
| Skills : |
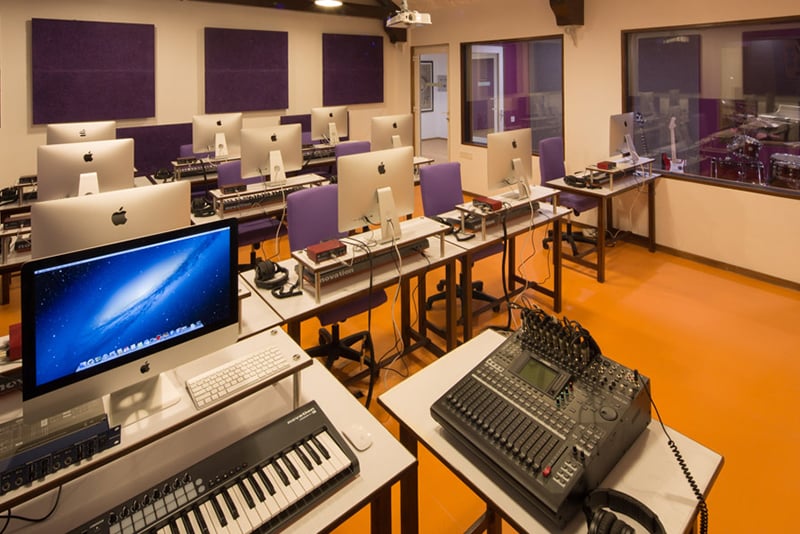
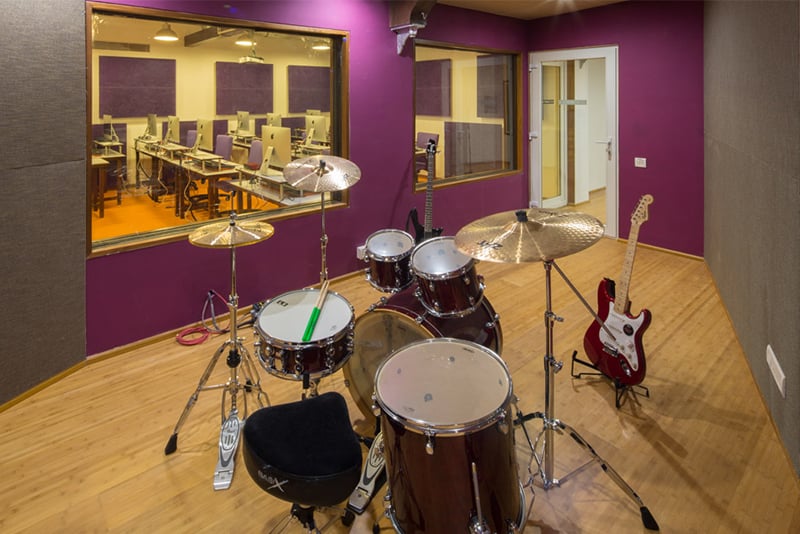

The True School of Music in Mumbai is India’s largest professional music institute for western and Indian music education. It is spread over 18000 sq.ft. in Lower Parel, the heart of Mumbai. It endeavors to be the vanguard of providing a music education of the highest caliber, helping students take the initial steps or take their career in music to higher levels in the industry. The acoustics were originally designed by Didier from Sound Wizard and executed by us in association with the project management team. We also crafted the entire music, audio equipment, and control equipment specification which was executed by Bajaao.com and other partners.
| Categories : |
Auditoriums, Educational Facilities, Recording & Broadcast Studios
|
|---|---|
| Skills : |
Our first project, way back in 2010! This recording studio was built at Walt Disney Mumbai specially for the CricInfo Channel and was commissioned in November 2010. The challenges were to retain the glass facade of the building and still achieve optimum reverberation times as well as background noise criterion NC18.
| Categories : |
Recording & Broadcast Studios
|
|---|---|
| Skills : |
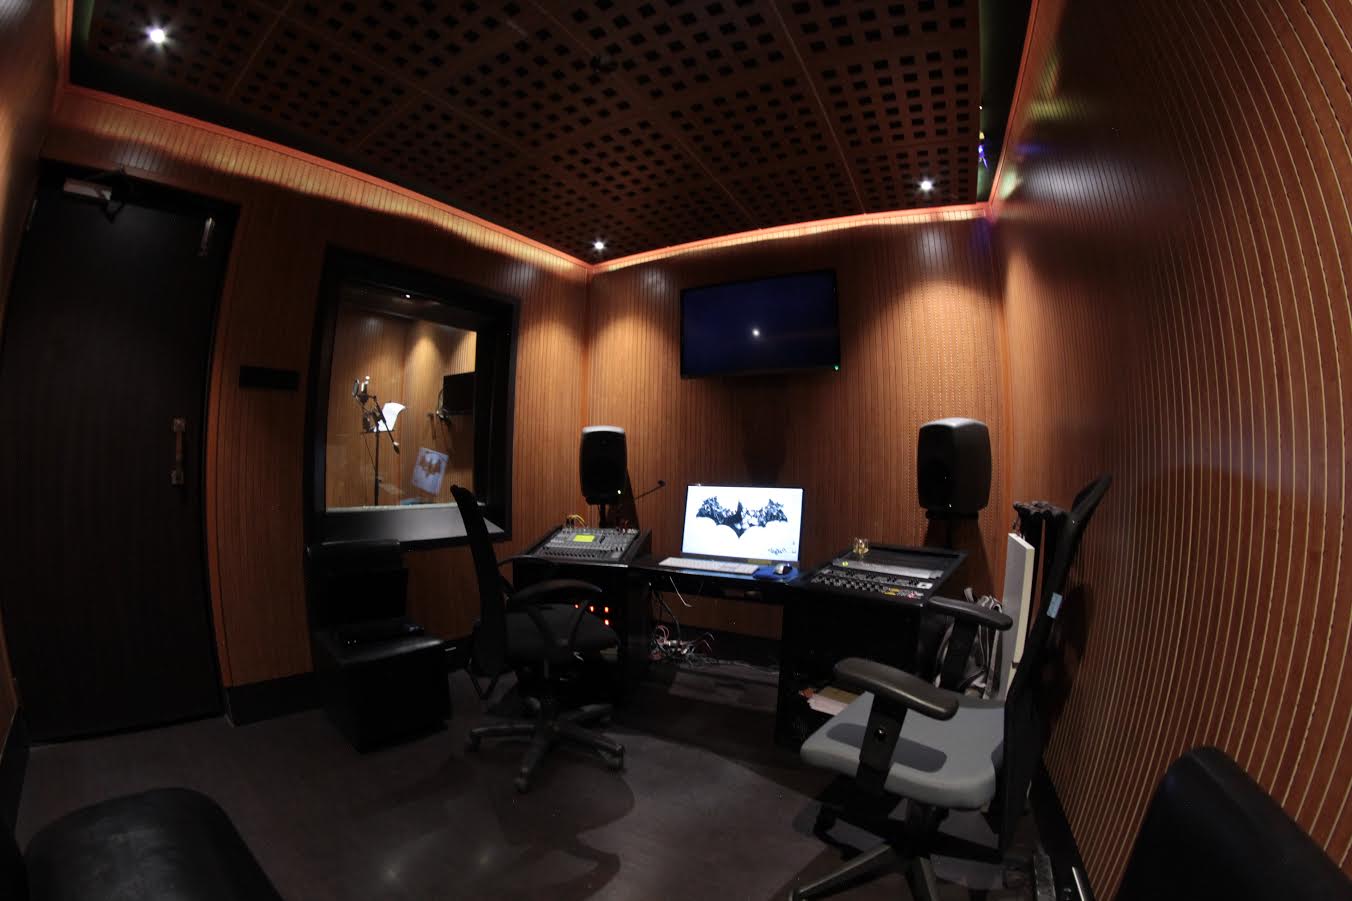
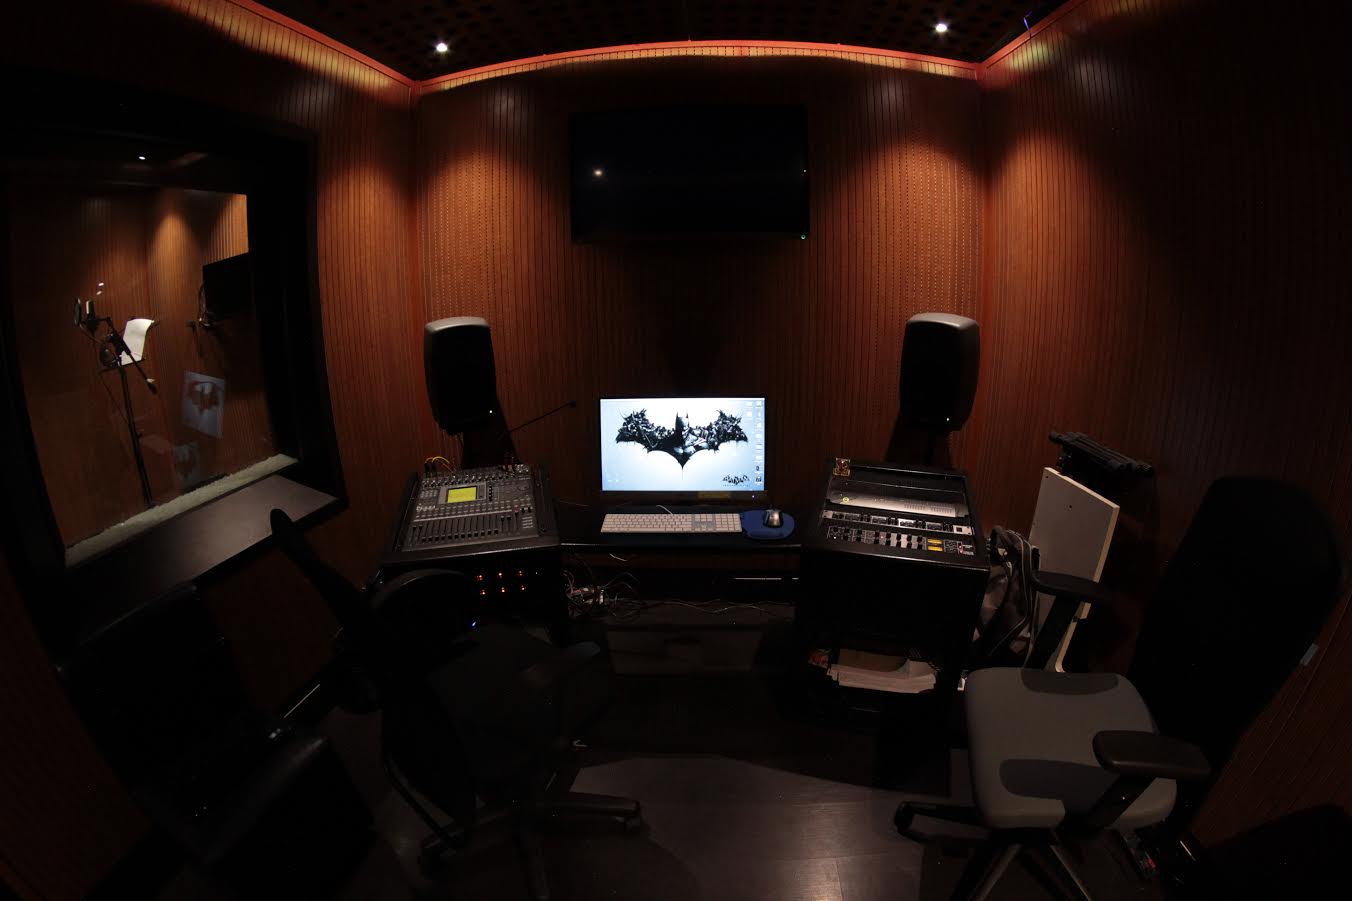
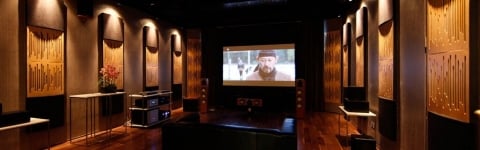
After’ is a highly experienced team of skilled individuals with a creative bent of mind, constantly on the search for challenges to push the frontiers of the digital domain. A Visual Entertainment Services company, ‘after’ is promoted by Sunil Hitech Engineers Limited. They are widely regarded as Mumbai’s largest post-production studio, providing services in the realm of audio and video production, Digital Intermediate, visual effects and Graphics and Animation. Aural Exchange engineers Akash Sawant and Ashutosh Pande designed and built the studio as a turnkey project.
Major challenges were to create 65dB Isolation from the rest of the 20000 sq.ft. floor, and this was achieved using TecSound and MgO boards. In-wall bass traps ensure amazing low end clarity despite the compact studio size, and engineered perforated wood panels tuned to 1Khz (walls) and 300Hz (ceiling) were used to create a beautiful sounding and premium space.
| Categories : |
Recording & Broadcast Studios
|
|---|---|
| Skills : |
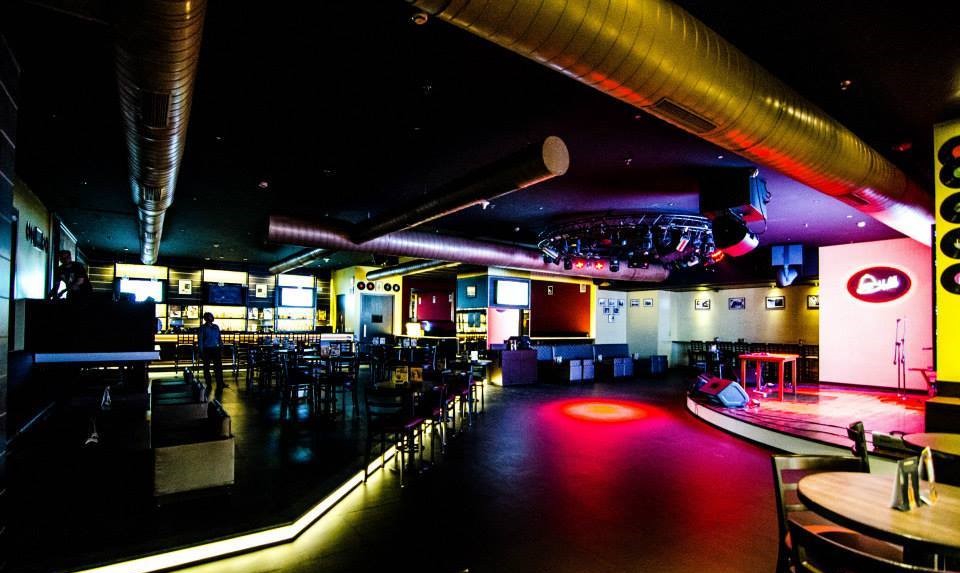
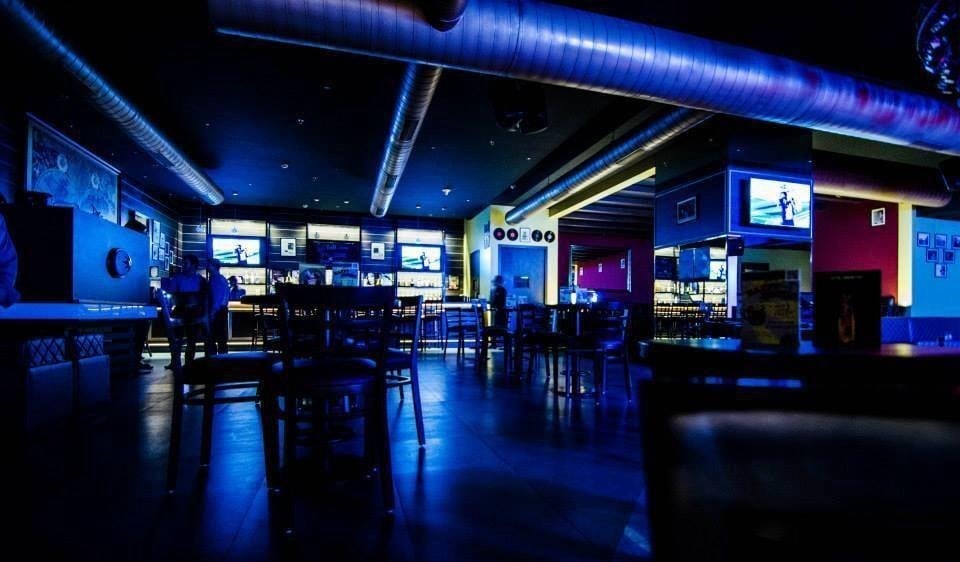
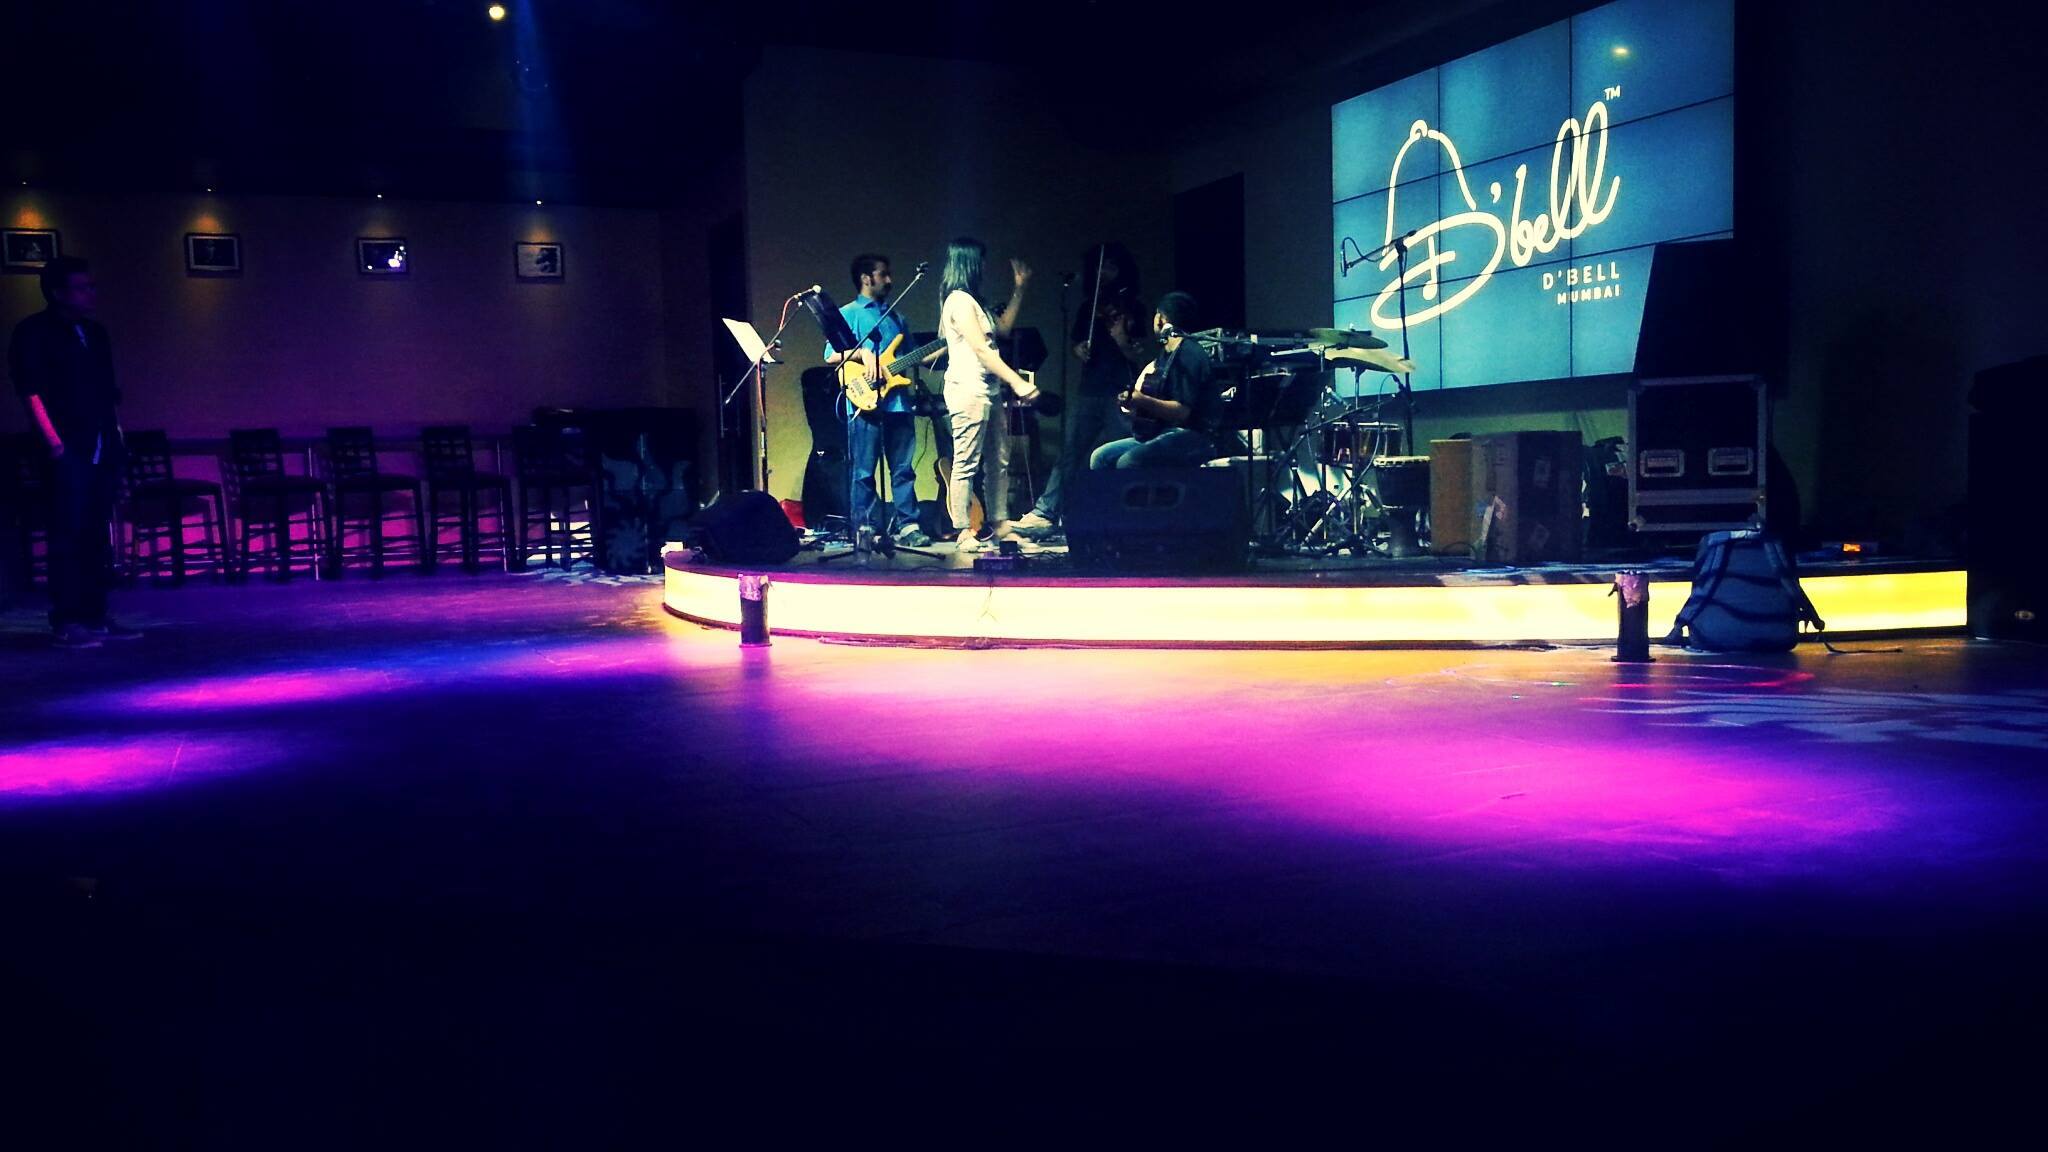
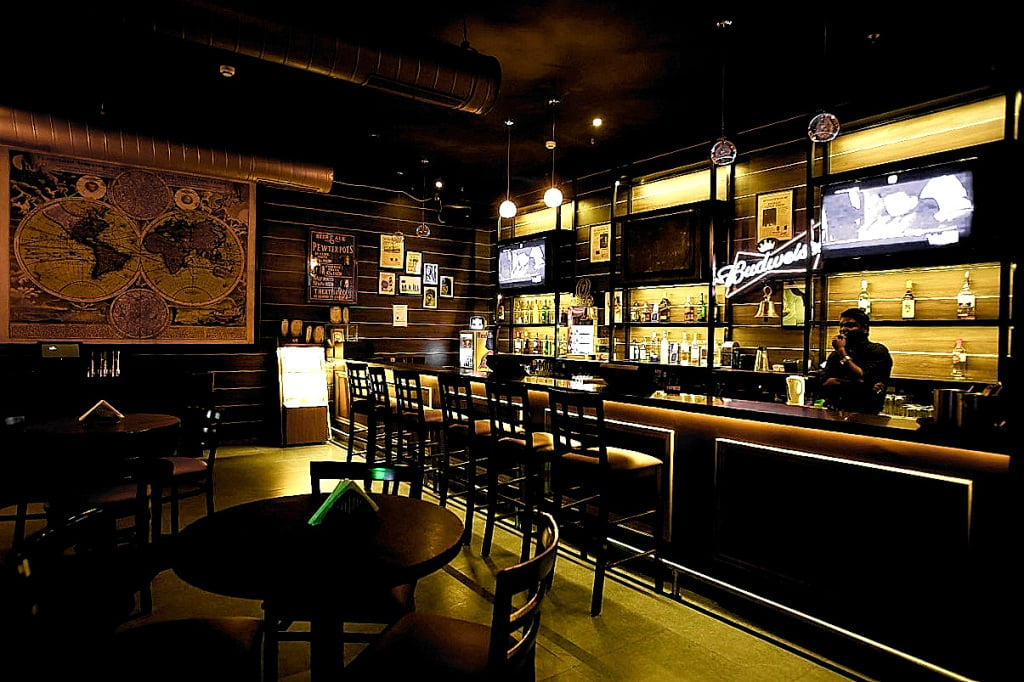
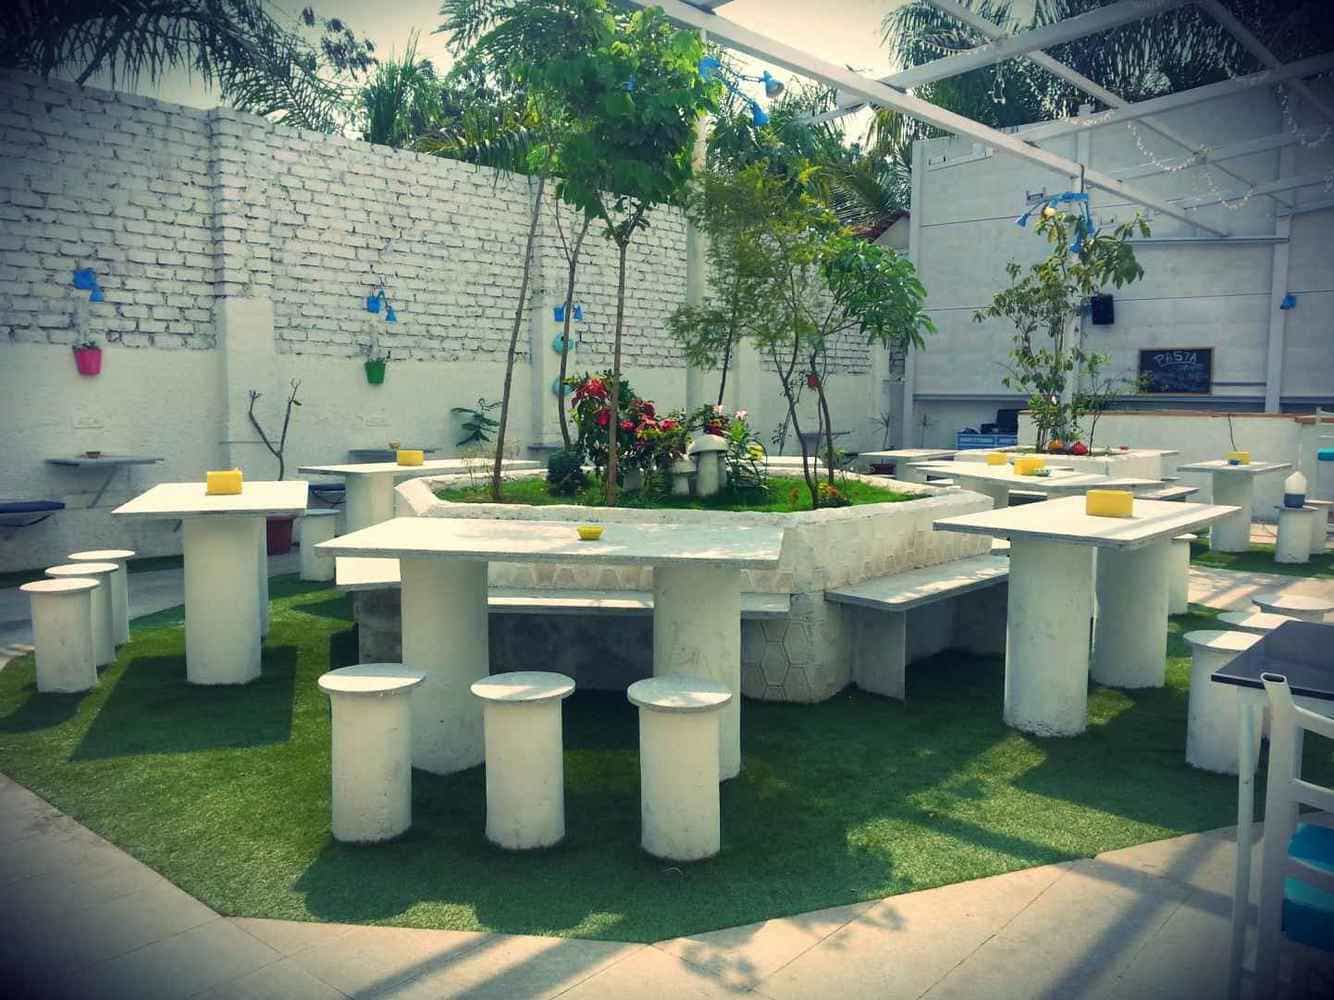
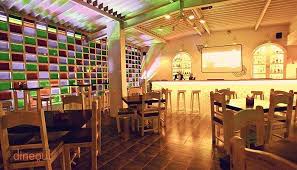
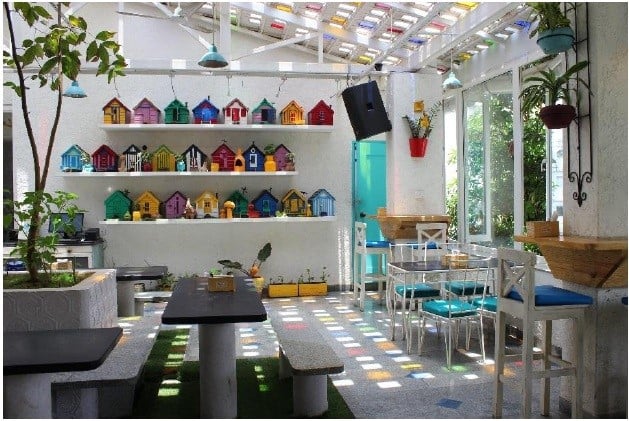
D’Bell Lounge is a haven for music fanatics who revel in the allure of a variety of genres. This section is bedecked with a large performance stage where esteemed and burgeoning artists alike showcase their glory, to which our avant-garde acoustics add aural beauty. At a comfortable corner, is nestled The Upper Deck, an enclosure with a paramount view of the performance area and pristine sound that allows for a conversation. This enclosure is an exclusive area for HNIs and professional clients.
| Categories : |
Bars & Nightclubs
|
|---|---|
| Skills : |
Client Showcase

")

")
")

")


")
")


")

")
")